
Blackberry Vinegar
I took a vinegar making class from Pascal Baudar, author and traditional food preservationist, last week and just in time to make my own blackberry vinegar. Pascal took us through all of the calculations, and steps to turn fruit scraps into vinegar. I furiously took notes while my new baby kittens clawed and hissed at my feet. So of course I was glad that the course was recorded so I could go back and decipher the chicken scratch I had written in a hustle.
The basic steps to making vinegar are turning fruit into a “wine” and then using that alcoholic beverage to then make a vinegar. So I got a crash course in how to make a certain percentage alcohol using a natural yeast starter. That, I guess, actually makes it three steps.
Step 1: Make yeast starter

Gather some ripe berries. Add 1 TLBS organic cane sugar to a half pint mason jar. Add rinsed berries so it fills 1/2 of the jar. Pour water over leaving 3/4 inch of “headspace” in the jar. Place the lid on the jar and shake till sugar is dissolved. Leave on counter, out of direct light for about one week, making sure to “burp” the jar twice a day. Remove berries after they start looking pale (about 5 days). Place in refrigerator for up to 2 weeks.
It’s important that the berries have the “bloom” on them. That is the natural yeast where the culture is being made from. Pasteurizing the fruit with heat will kill that natural yeast.
Instead of making a yeast starter, you can just use a 1/4 packet of winemaking yeast.
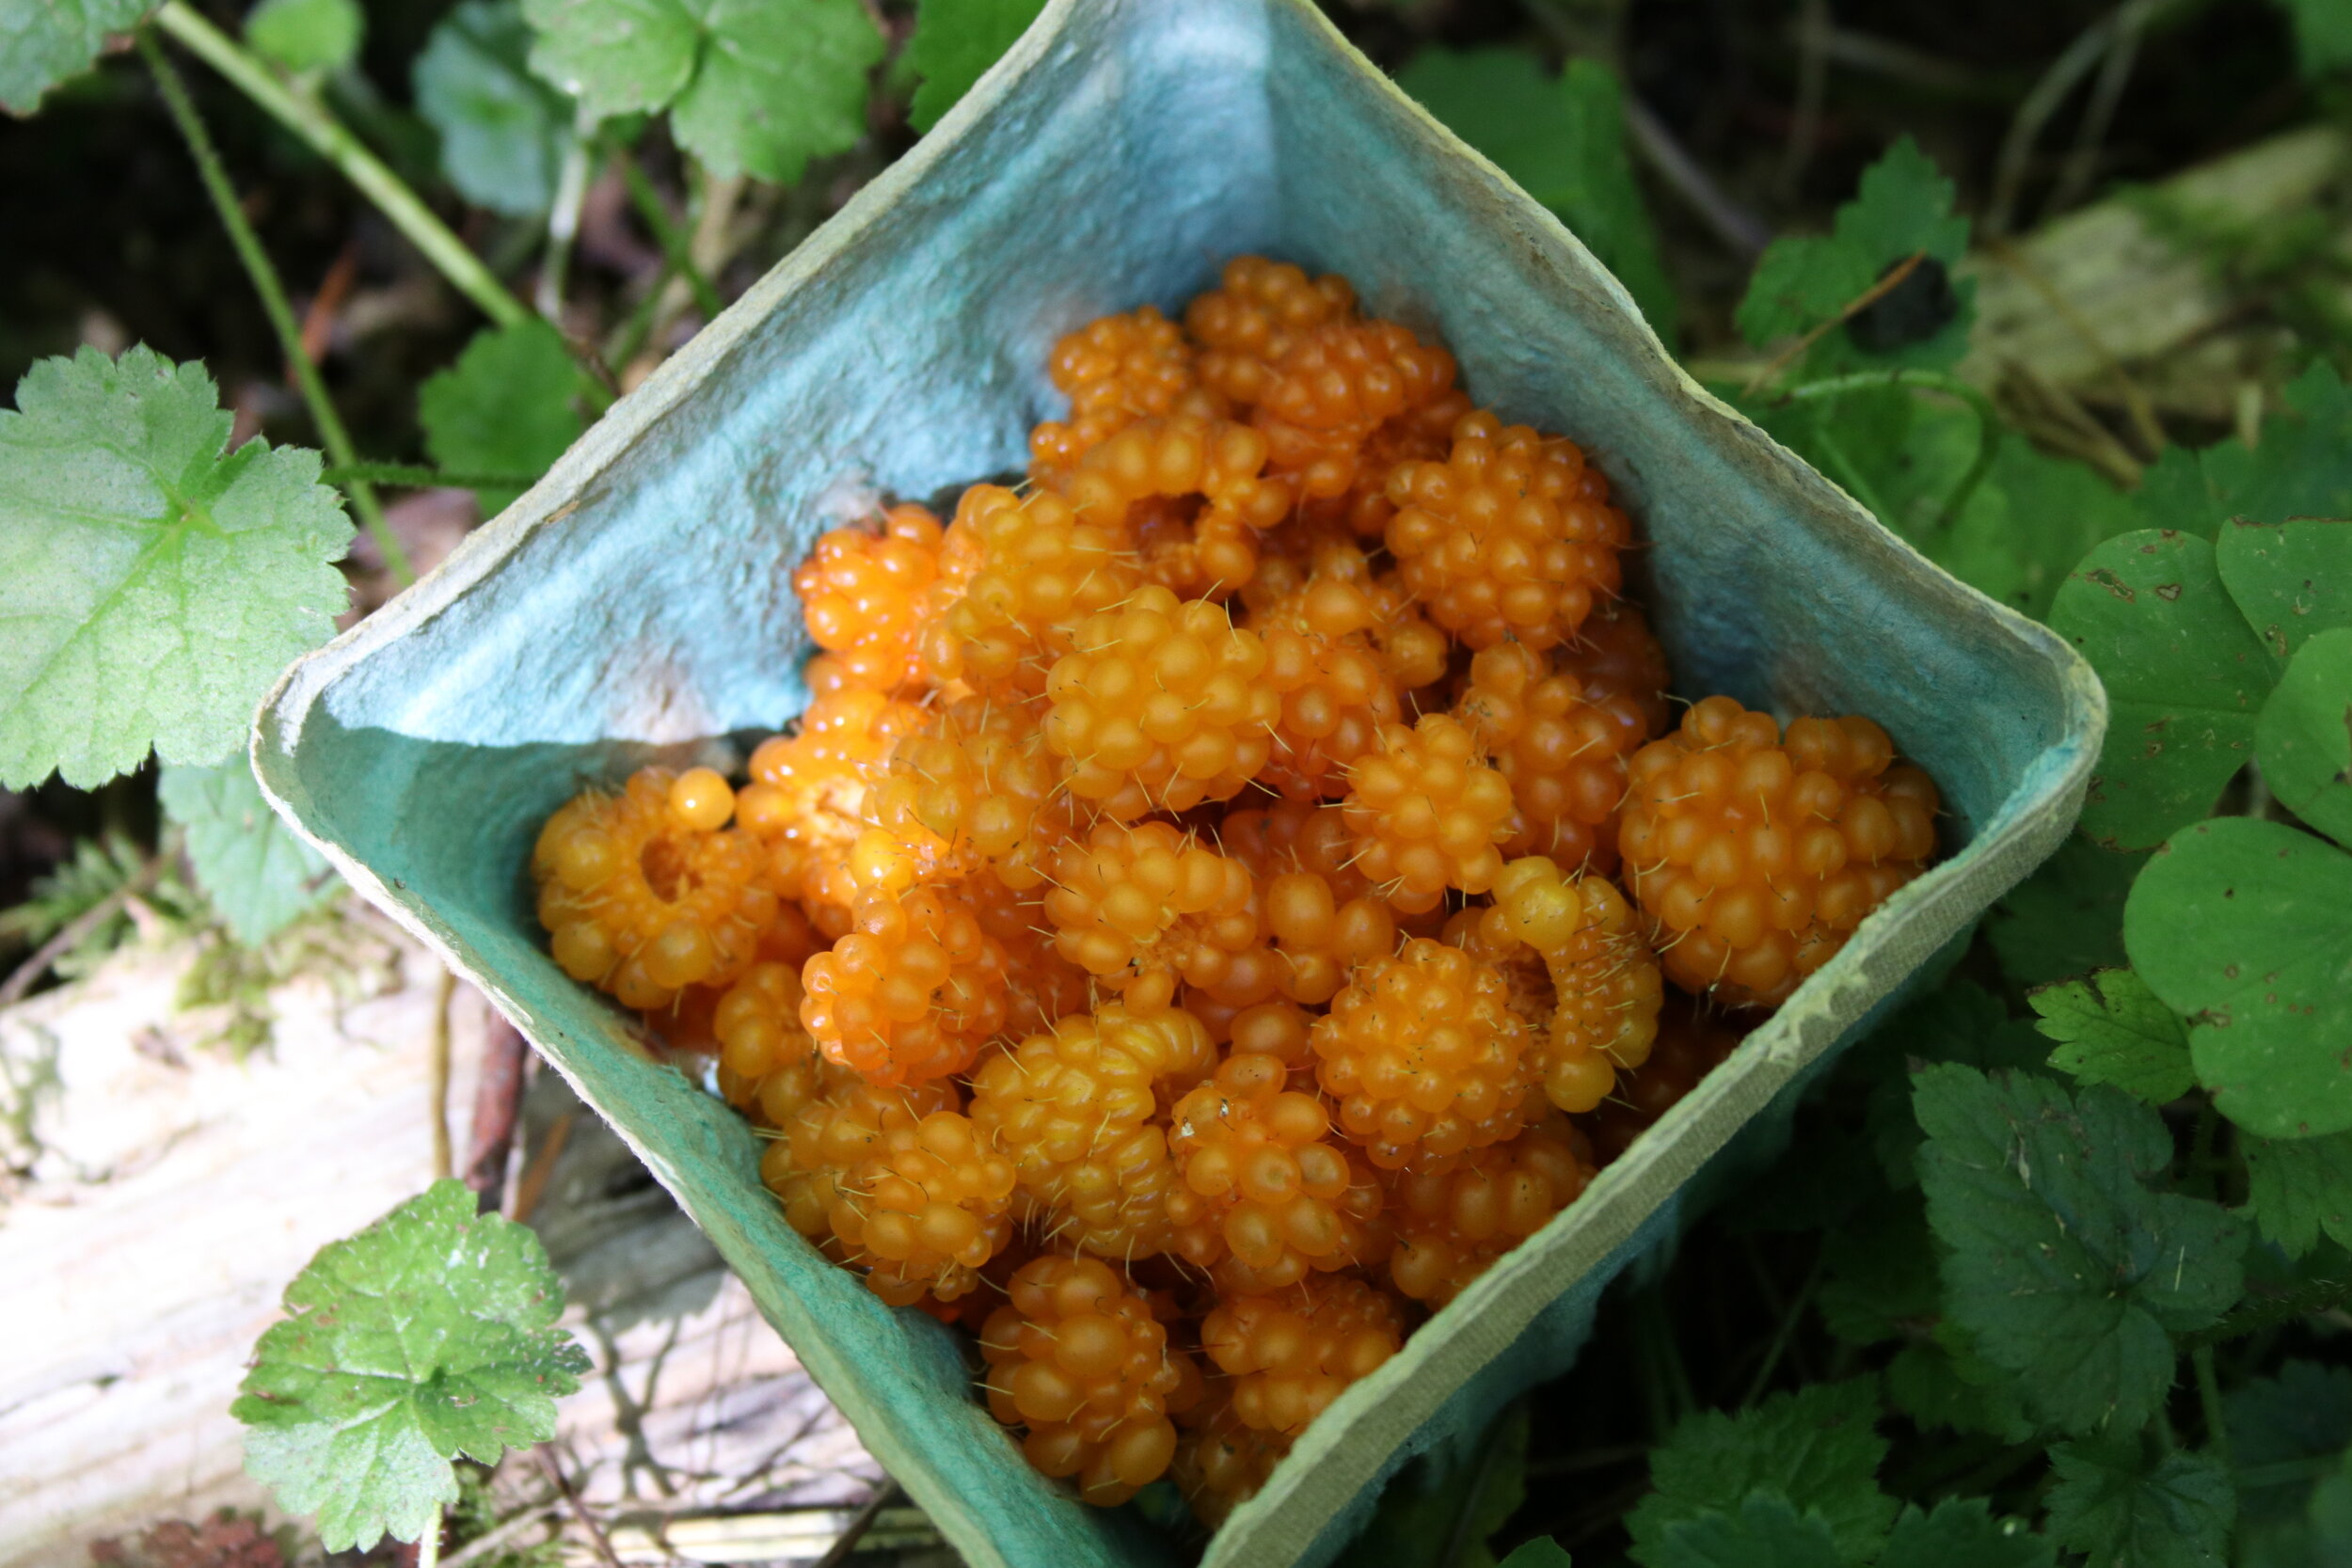
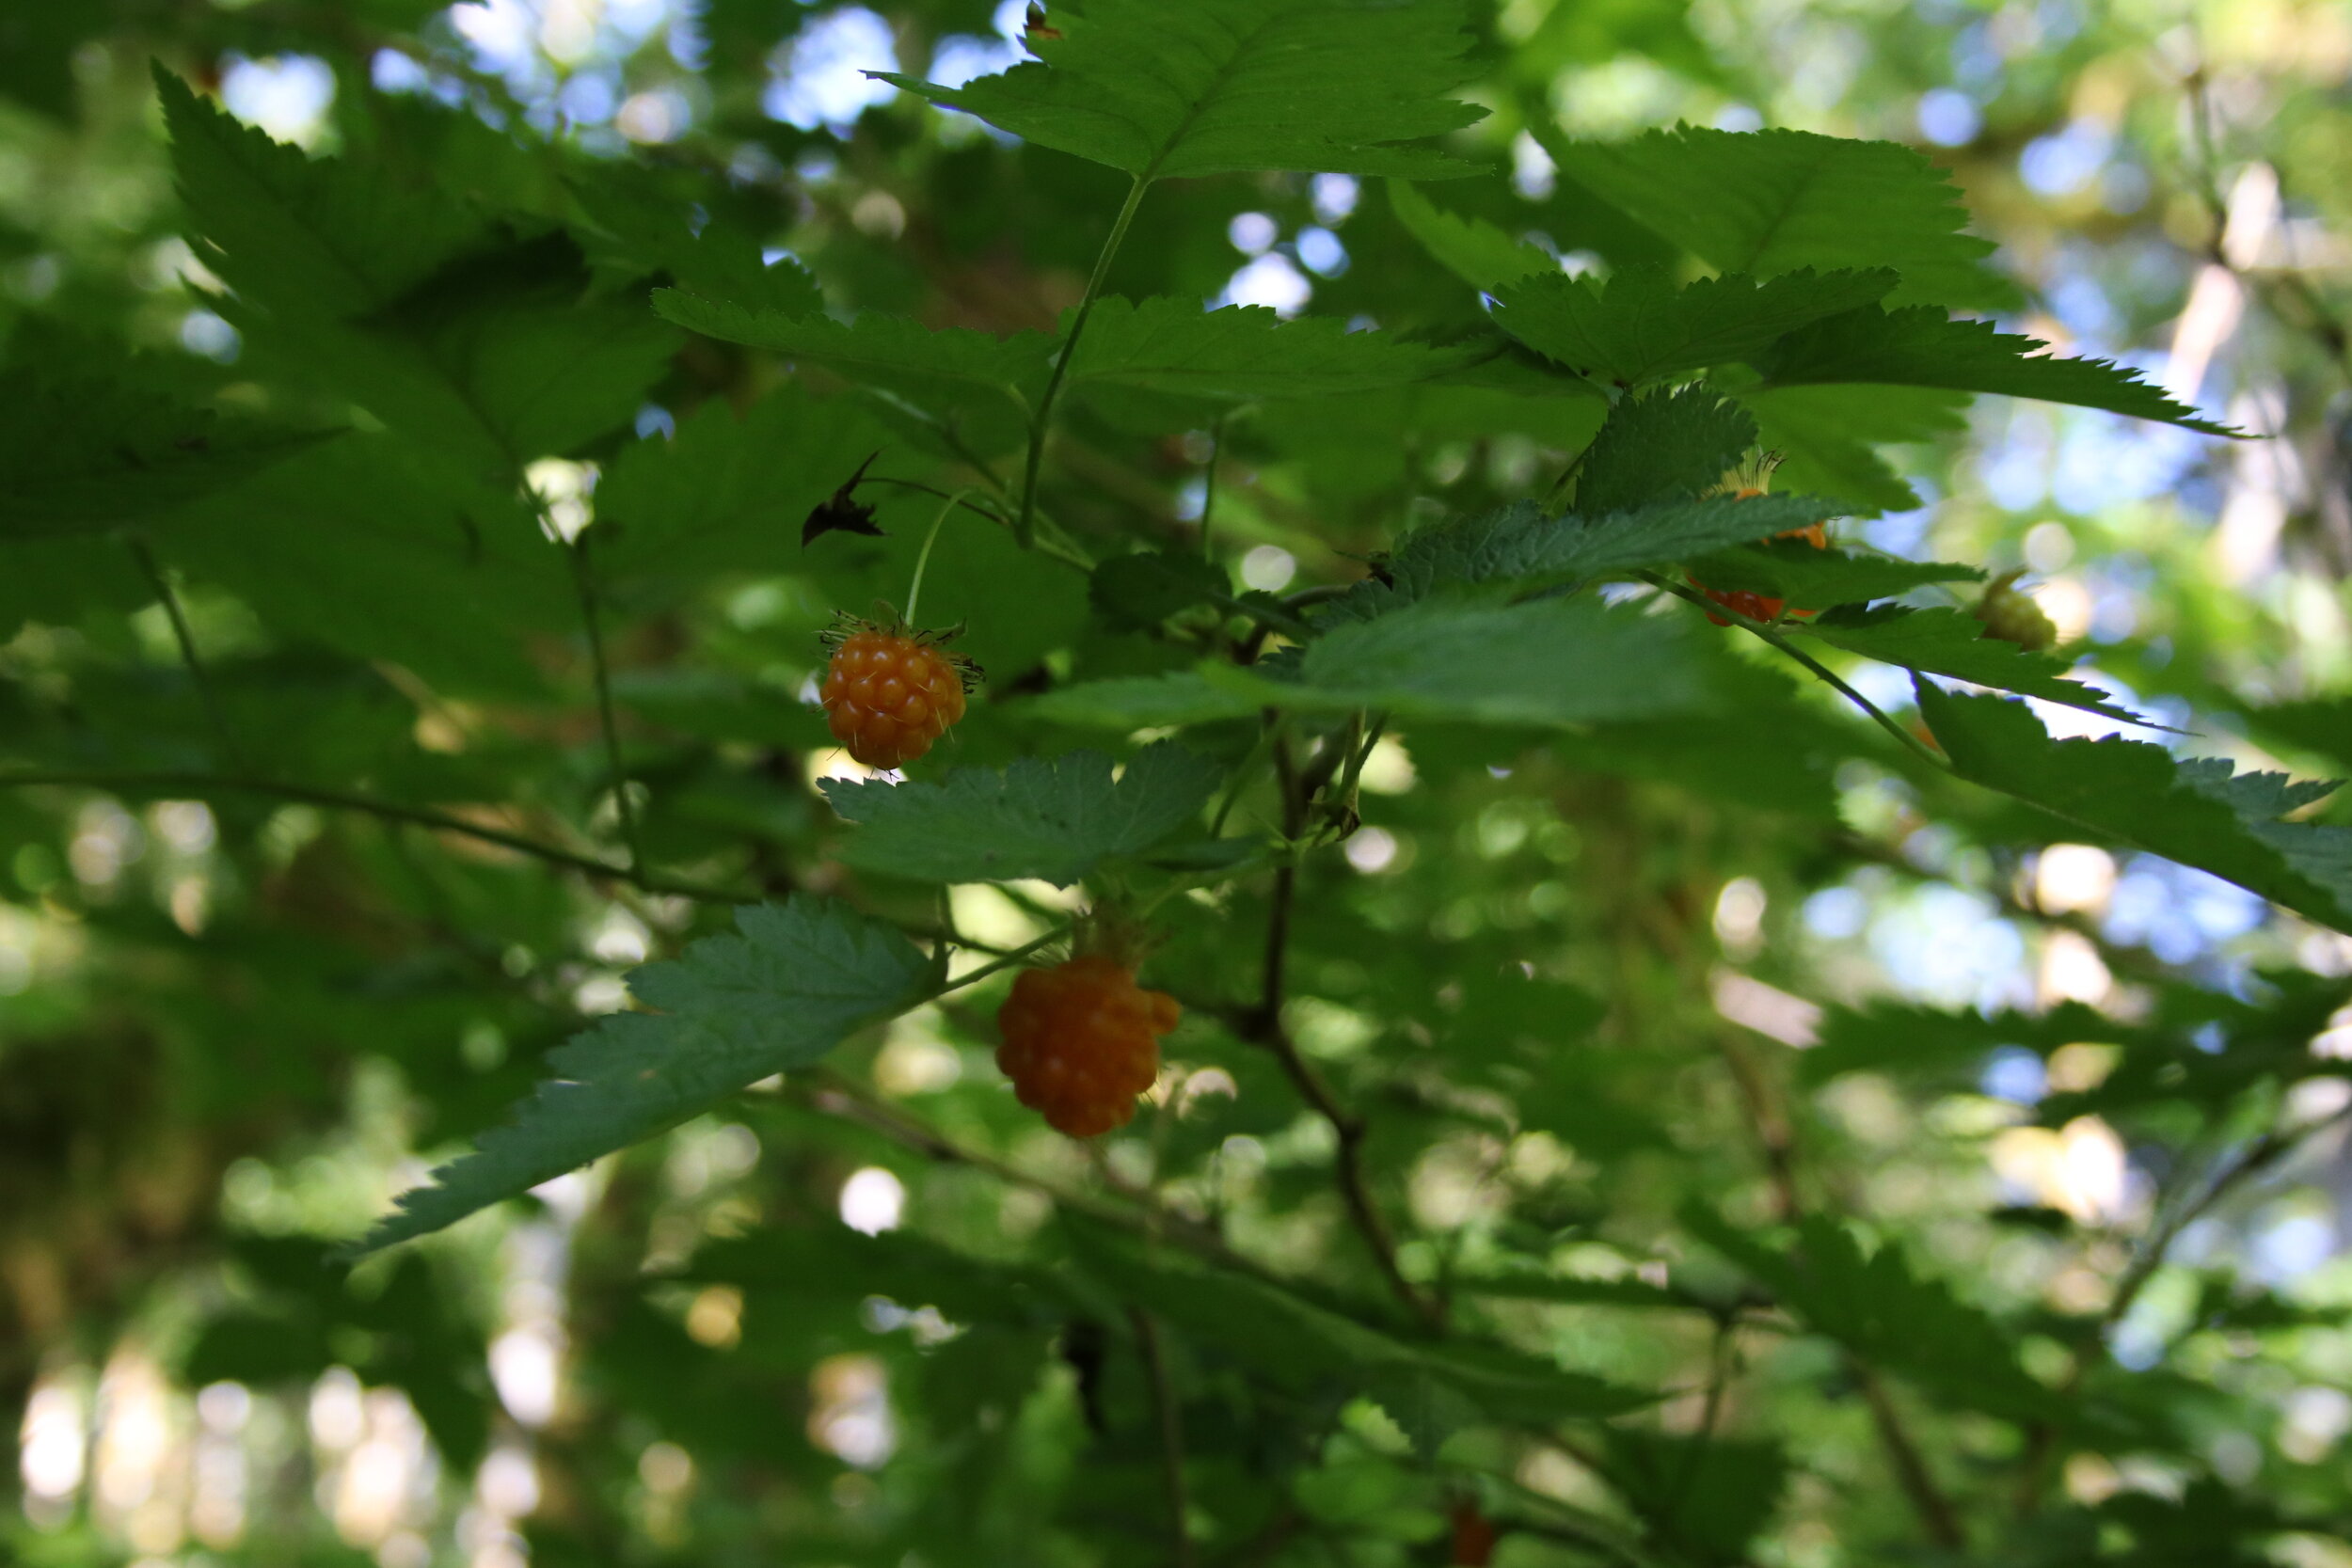
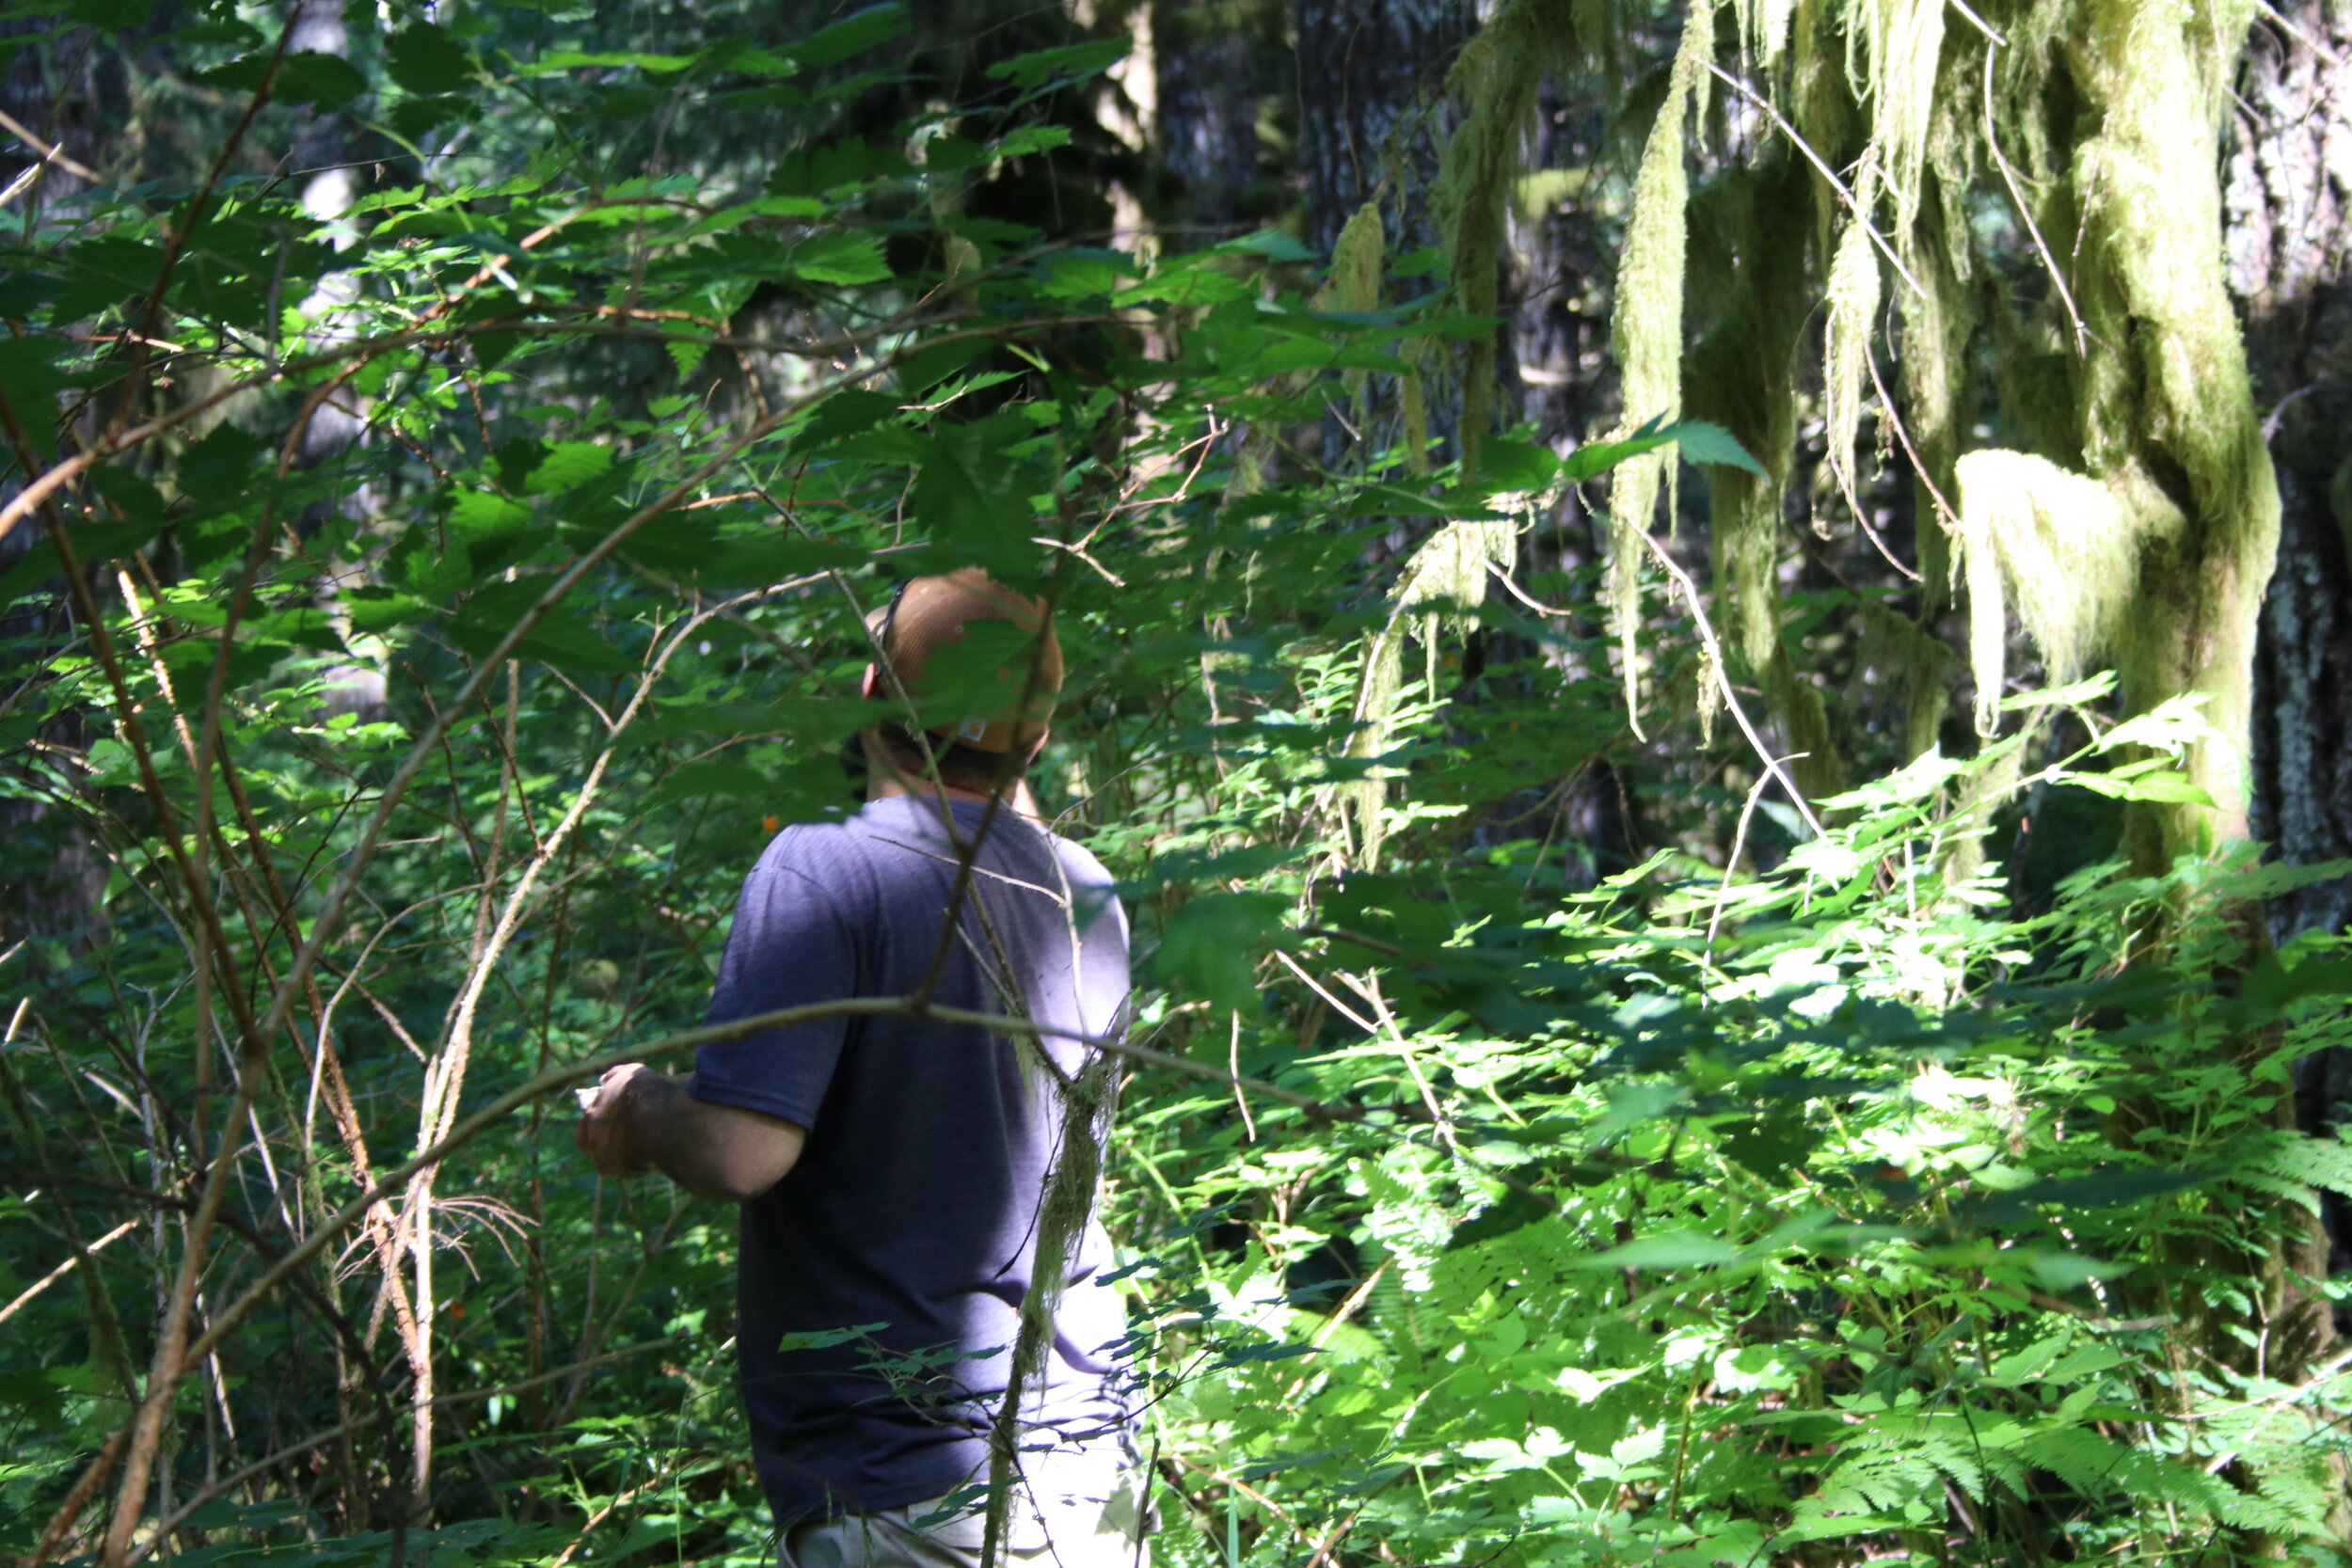
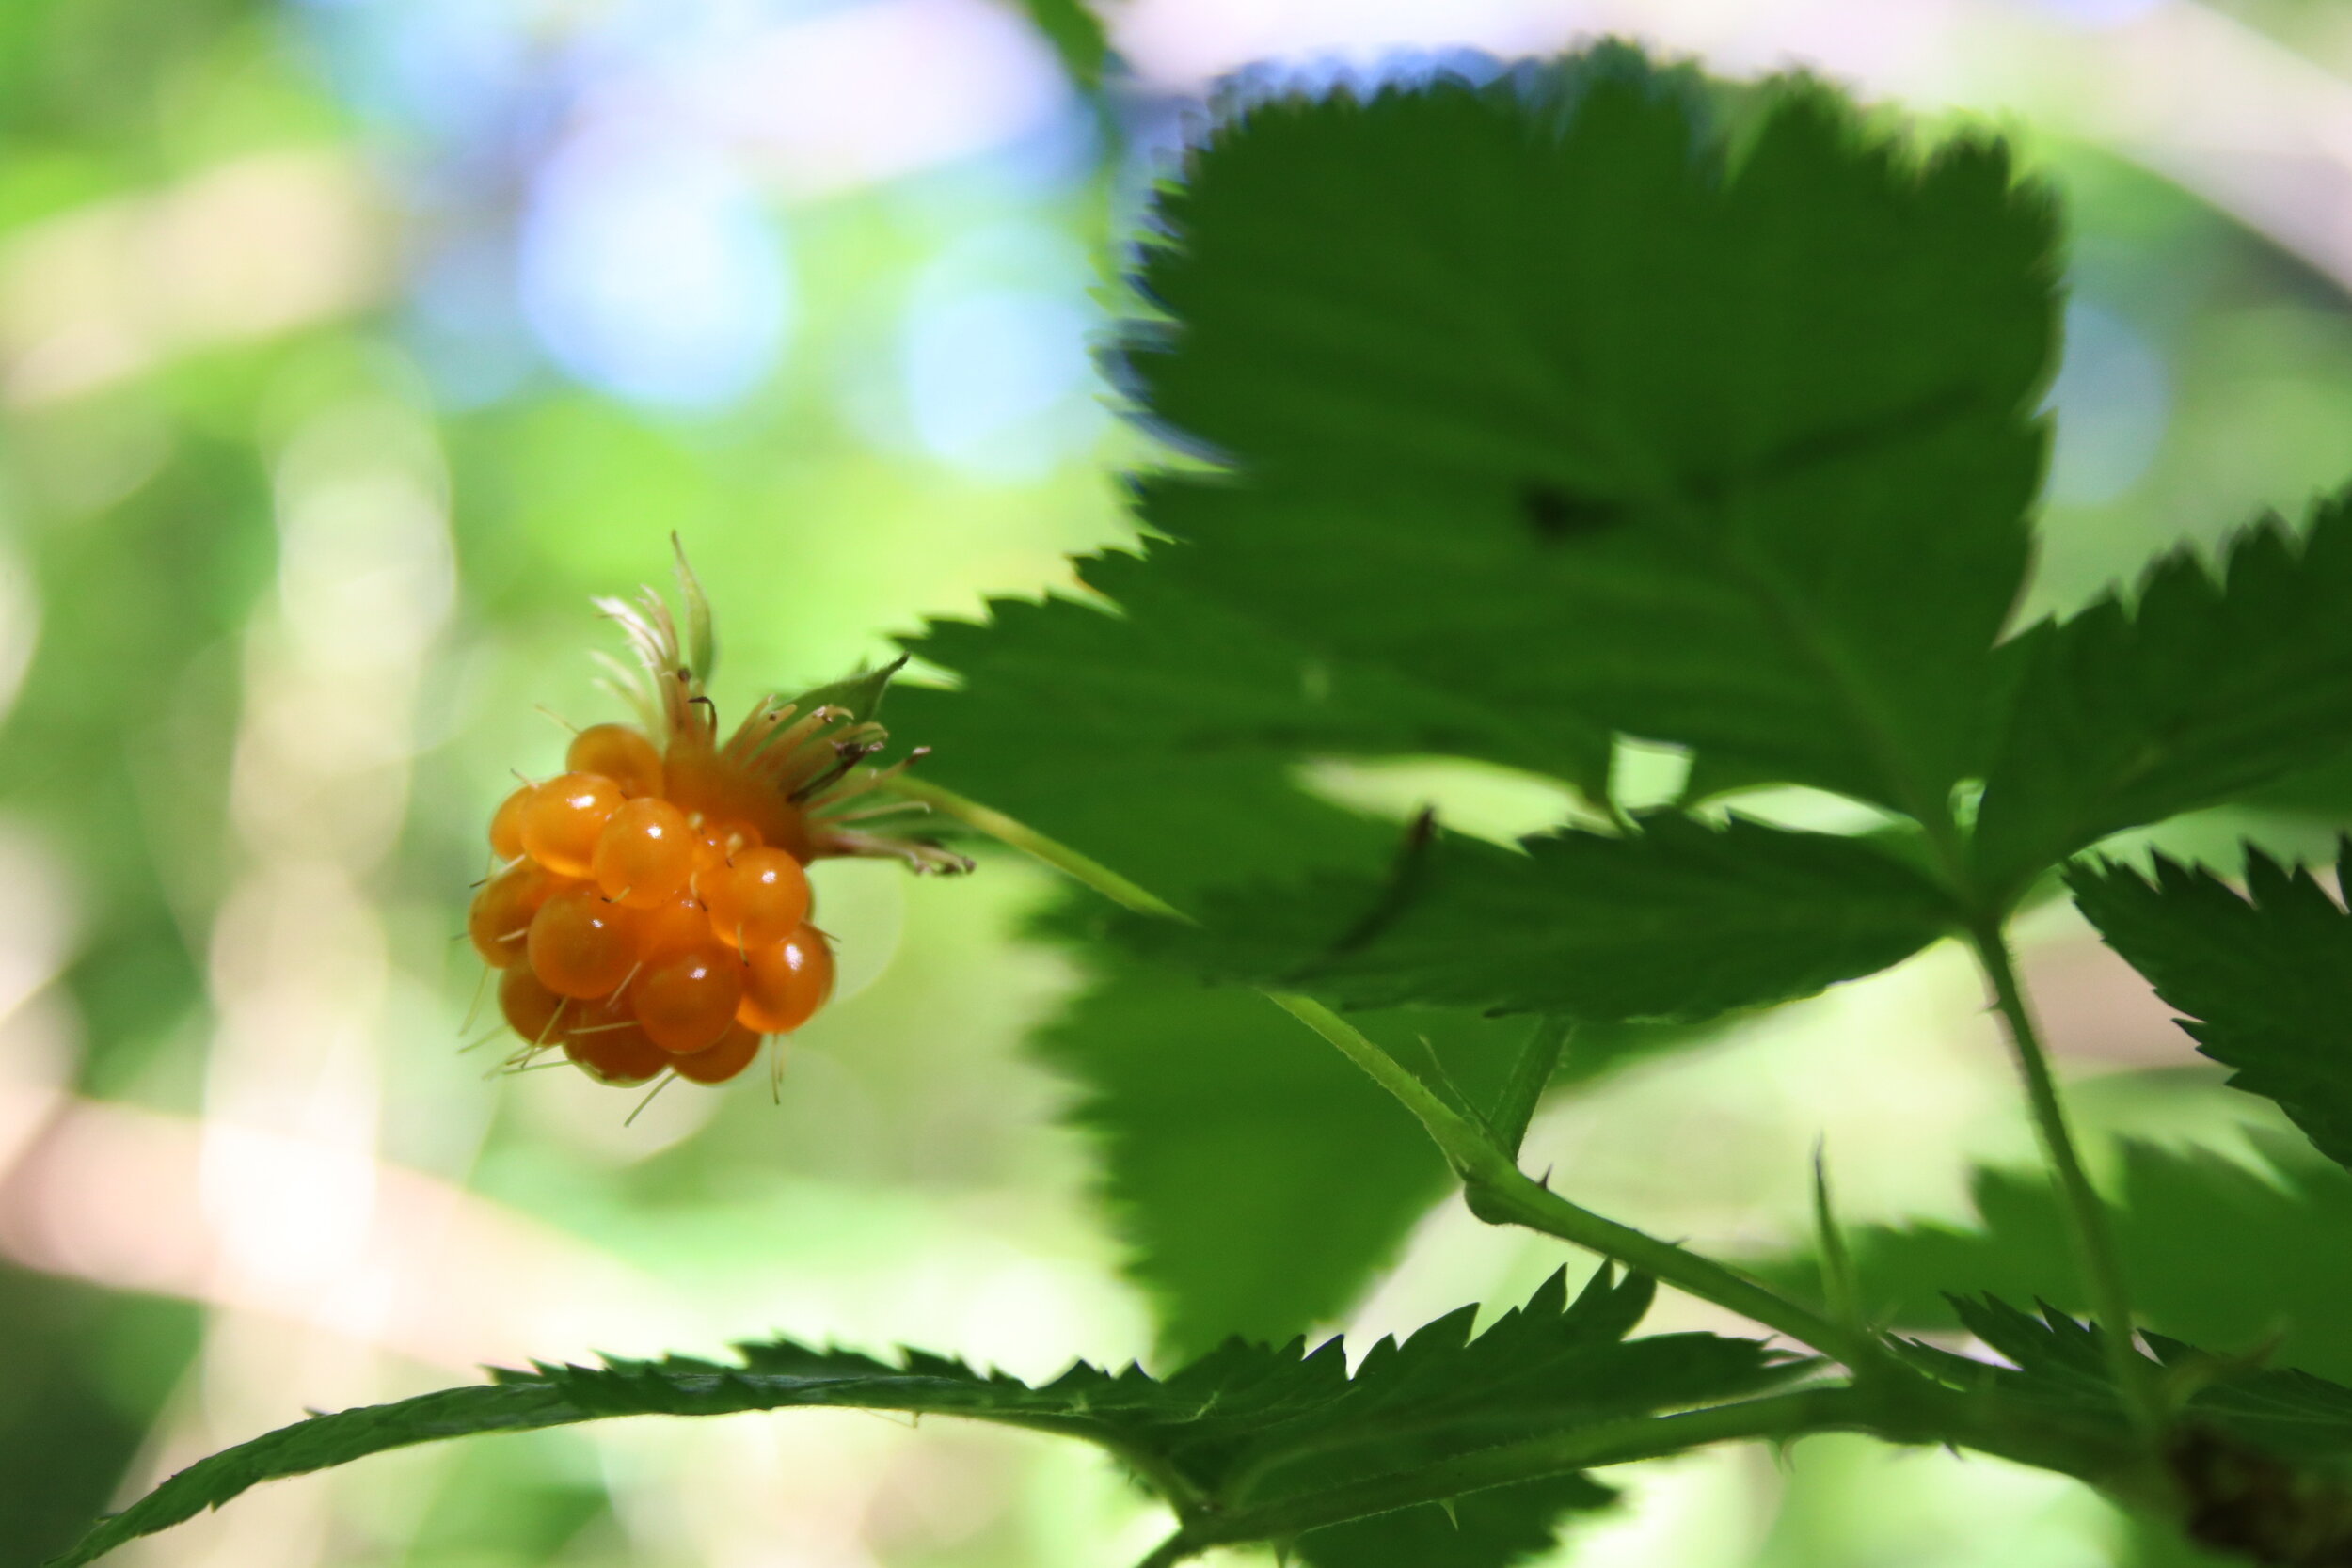
My friend Jordan and I gathered the first ripe Salmonberries (Rubus spectabilis) at Mt. Hebo, in the Siuslaw National Forest, at the coastal mountain range in Oregon. We walked the trail and down into this moist, almost swampy area. It was humid and the berries were just ripening. We only gathered a pint, but it was just enough to start a wild yeast culture. I brought a half-pint mason jar with a couple tablespoons of sugar in the bottom of the jar. I rinsed the berries then added a handful of ripe salmonberries and a couple red huckleberries to the jar. I finally added some water, closed the lid and gave it a good shake. Since I was camping, I just left the jar in the shade until I got home. It sat on my counter for about 5 days, then the pressure started to build and on day 6 I removed the berries and stuck the yeast culture in the refrigerator.
Step 2: Ferment Raw Fruit

The basic steps are pick your fruit. Weigh your fruit. Do lot’s of math. Blend and strain the fruit, so only juice remains (no seeds). Add the calculated sugar, and yeast starter in the glass jar with the fruit juice. Add the airlock and let it sit till the liquid in the airlock stops bubbling (about a week).
If you are American and measure everything in ounces or cups, it makes for lots of conversion math. This really helps if you have a kitchen scale in grams.
Let’s talk about the math because this is probably the hardest part of this whole process.

First you need to look up the nutritional facts for the fruit you are using. Since I used Blackberries, I found that there was 7 grams of sugar per cup of whole berries or (7g X 4cups=) 28 grams of sugar per quart. You can find out nutrition facts by googling “your fruit + nutrition facts”.
Next you will want to find out how much sugar to add. It is important not to create an alcoholic beverage stronger than 9% or you can not create vinegar. Vinegar is best produced with an alcohol content of between 5-7%. In a perfect world (with no evaporation) the alcohol:acidity ratio is 1:1. But since there is evaporation, and other factors, you will loose about 20% of the alcohol in the process. So if you want a 5% acid vinegar as a finished product, then make a 7% alcohol.
This is where our % Alcohol chart comes in handy. To get a 7% alcohol content you need 140 grams of sugar in one quart. My blackberries had (7grams sugar X 4 cups=) 28 grams of sugar per quart of whole berries. To make the 7% alcohol I took the needed amount of sugar 140 grams- 28 grams of sugar from the fruit, per quart, and calculated I would need 112 grams of sugar to add. If you don’t have a scale to weigh that, it is about 3/4 cup + 2 TBLS sugar per quart.
Conversions
1/4 cup sugar = 34 grams of sugar
1 quart = 4 cups
Sugar Total per Quart = % Alcohol Chart
20 g. sugar (.7 oz. sugar) = 1% alcohol
40 g. sugar (1.4 oz. sugar) = 2% alcohol
60 g. sugar (2.1 oz. sugar) = 3% alcohol
80 g. sugar (2.8 oz. sugar) = 4% alcohol
100 g. sugar (3.5 oz. sugar) = 5% alcohol
140 g. sugar (5.9 oz. sugar) = 7% alcohol

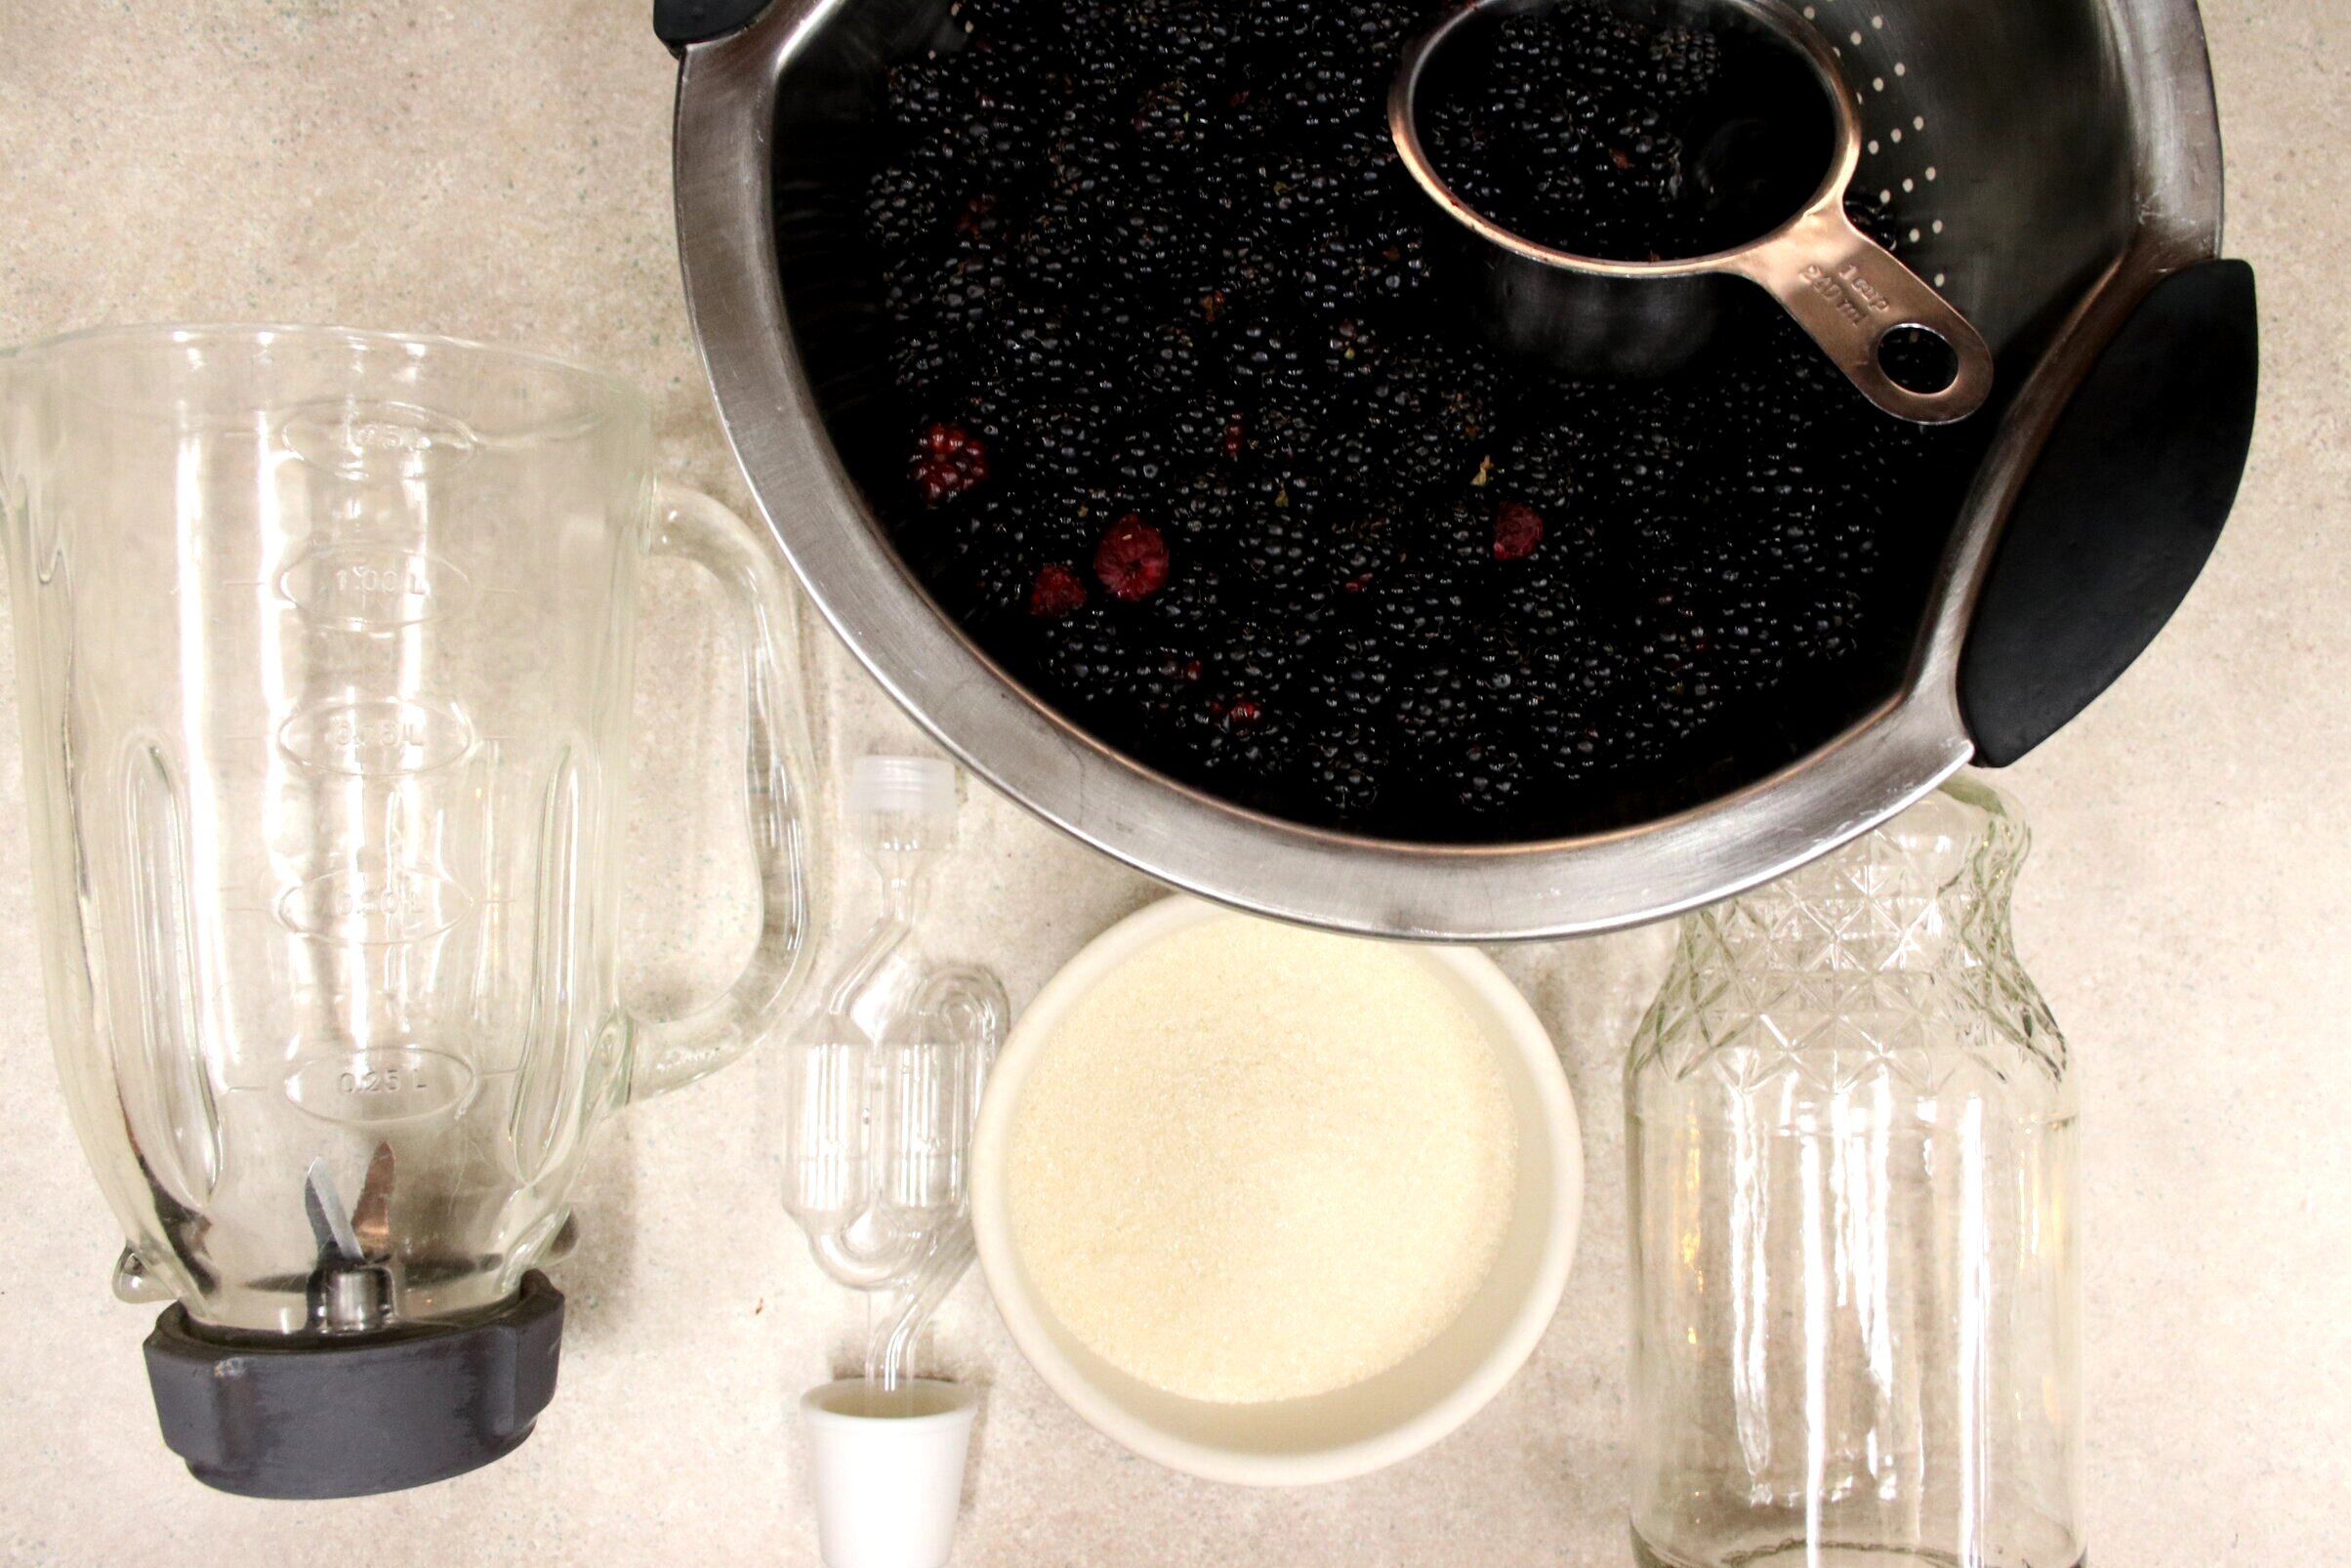
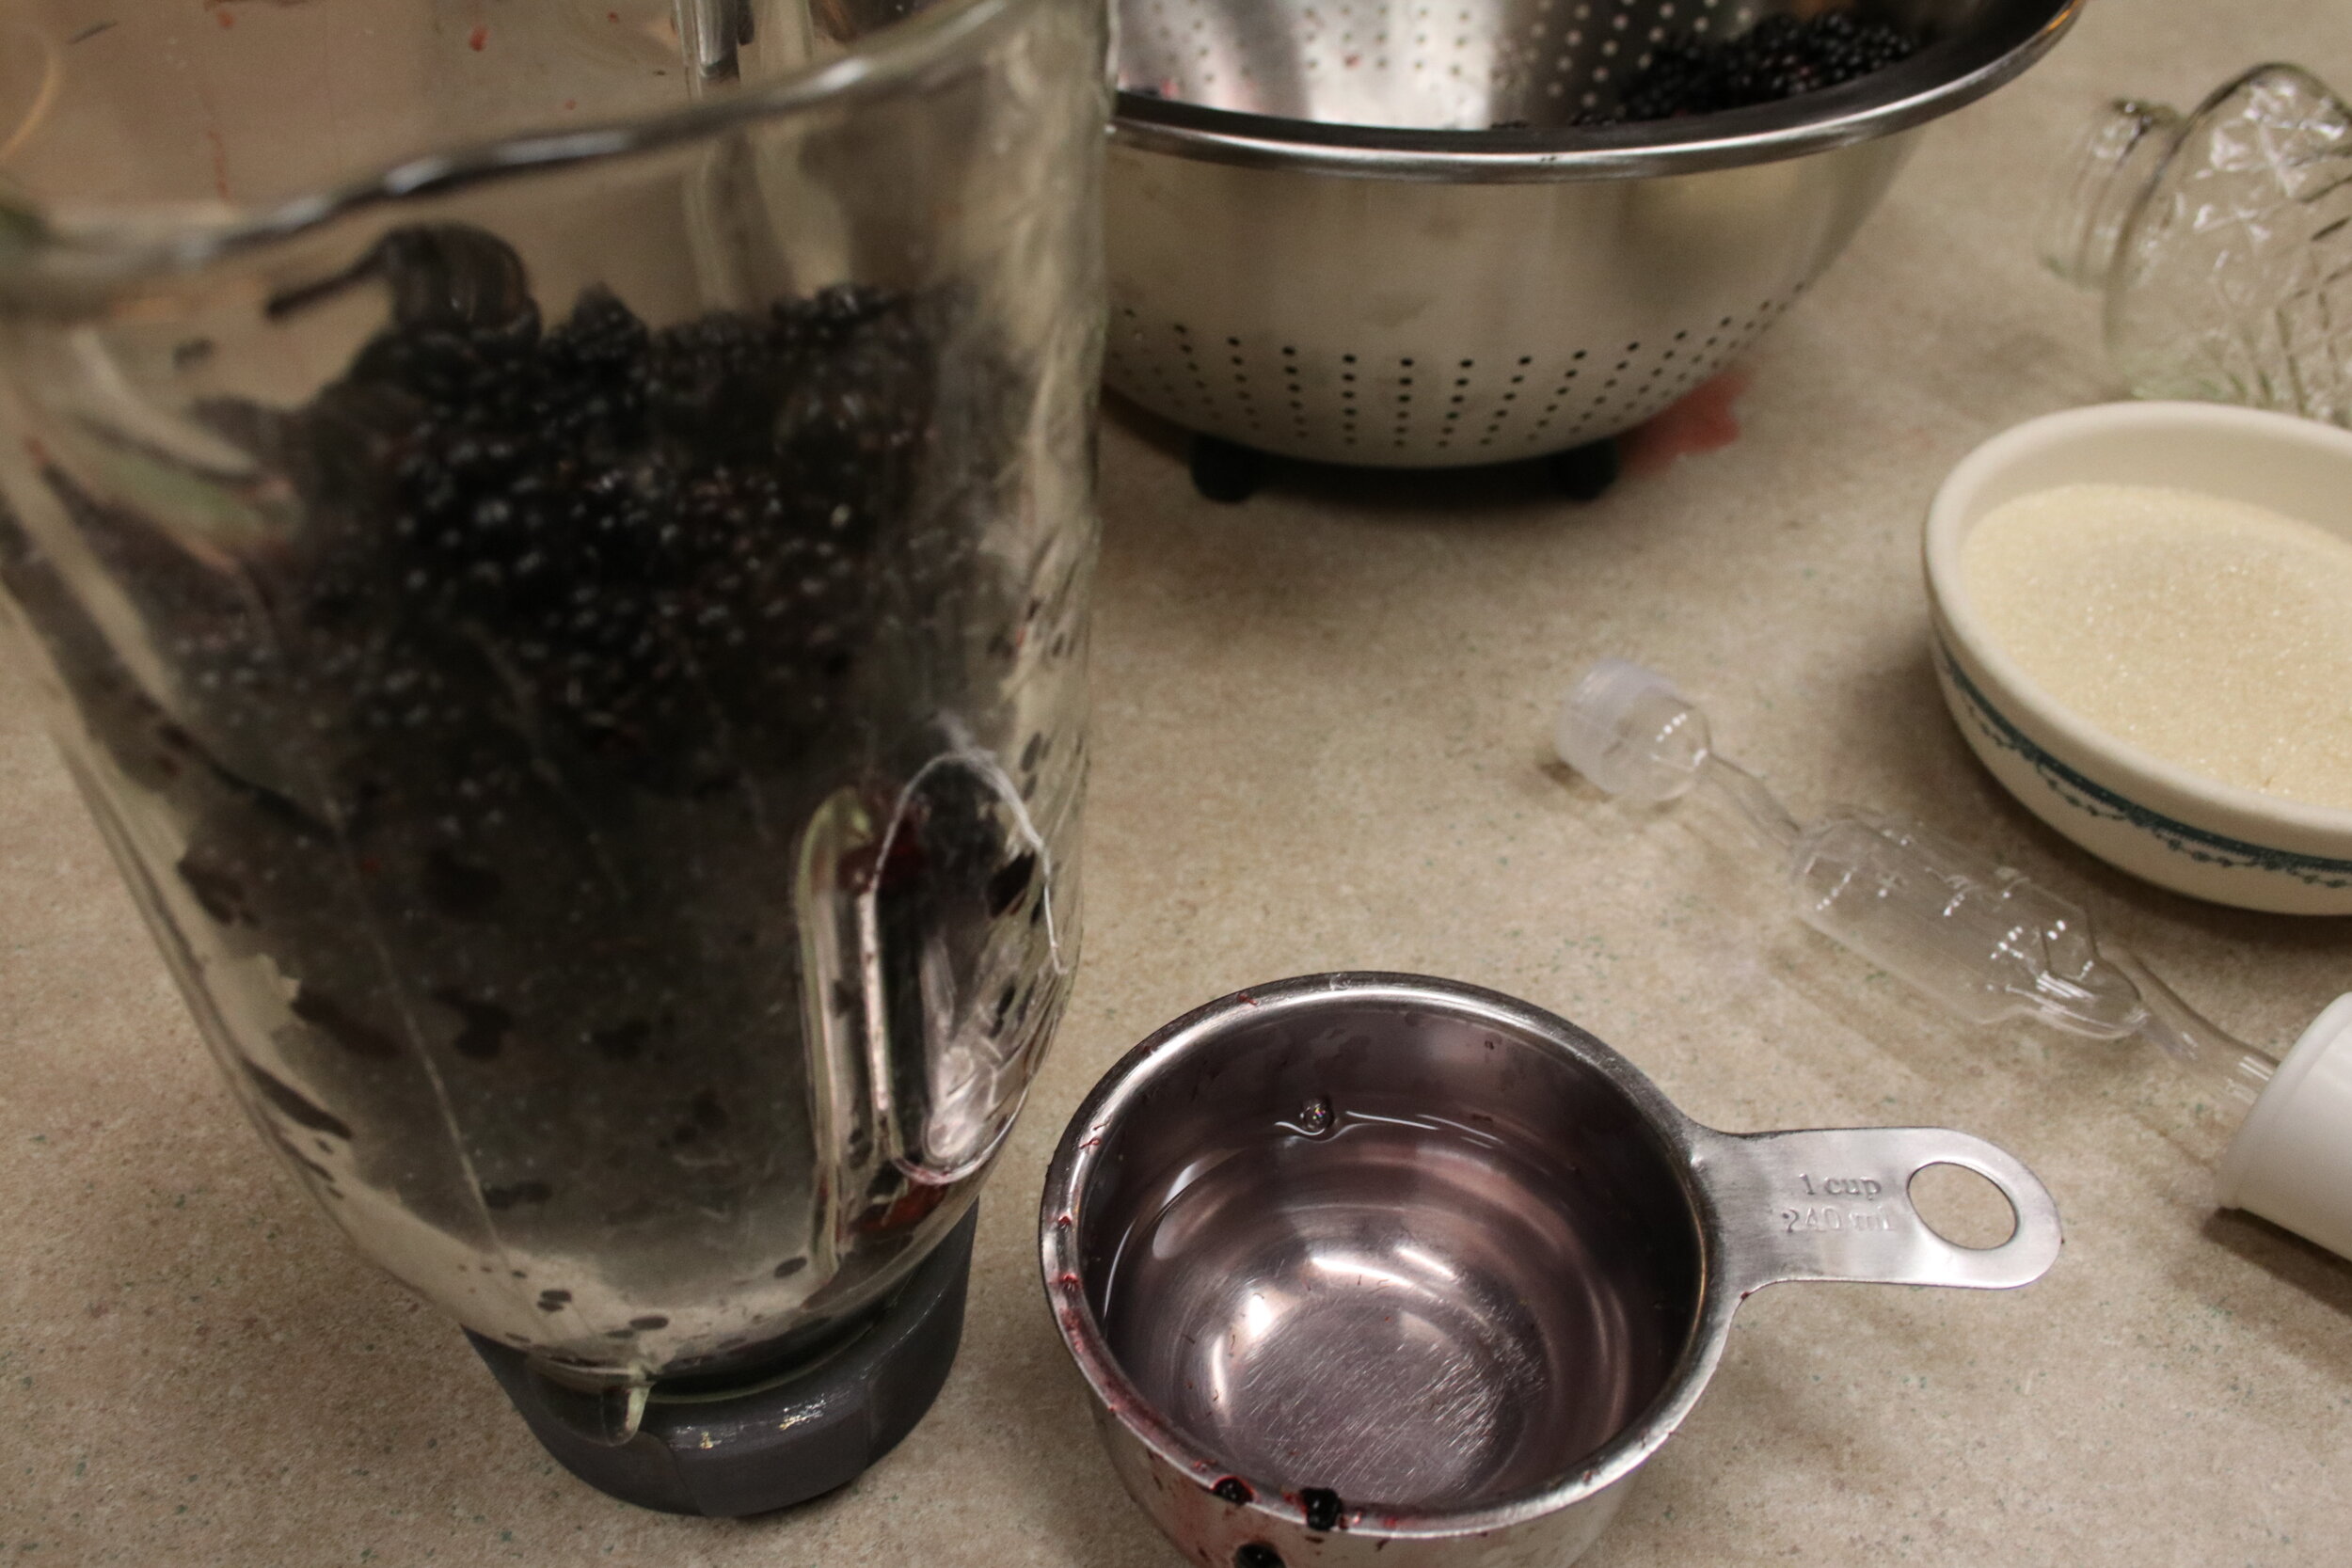
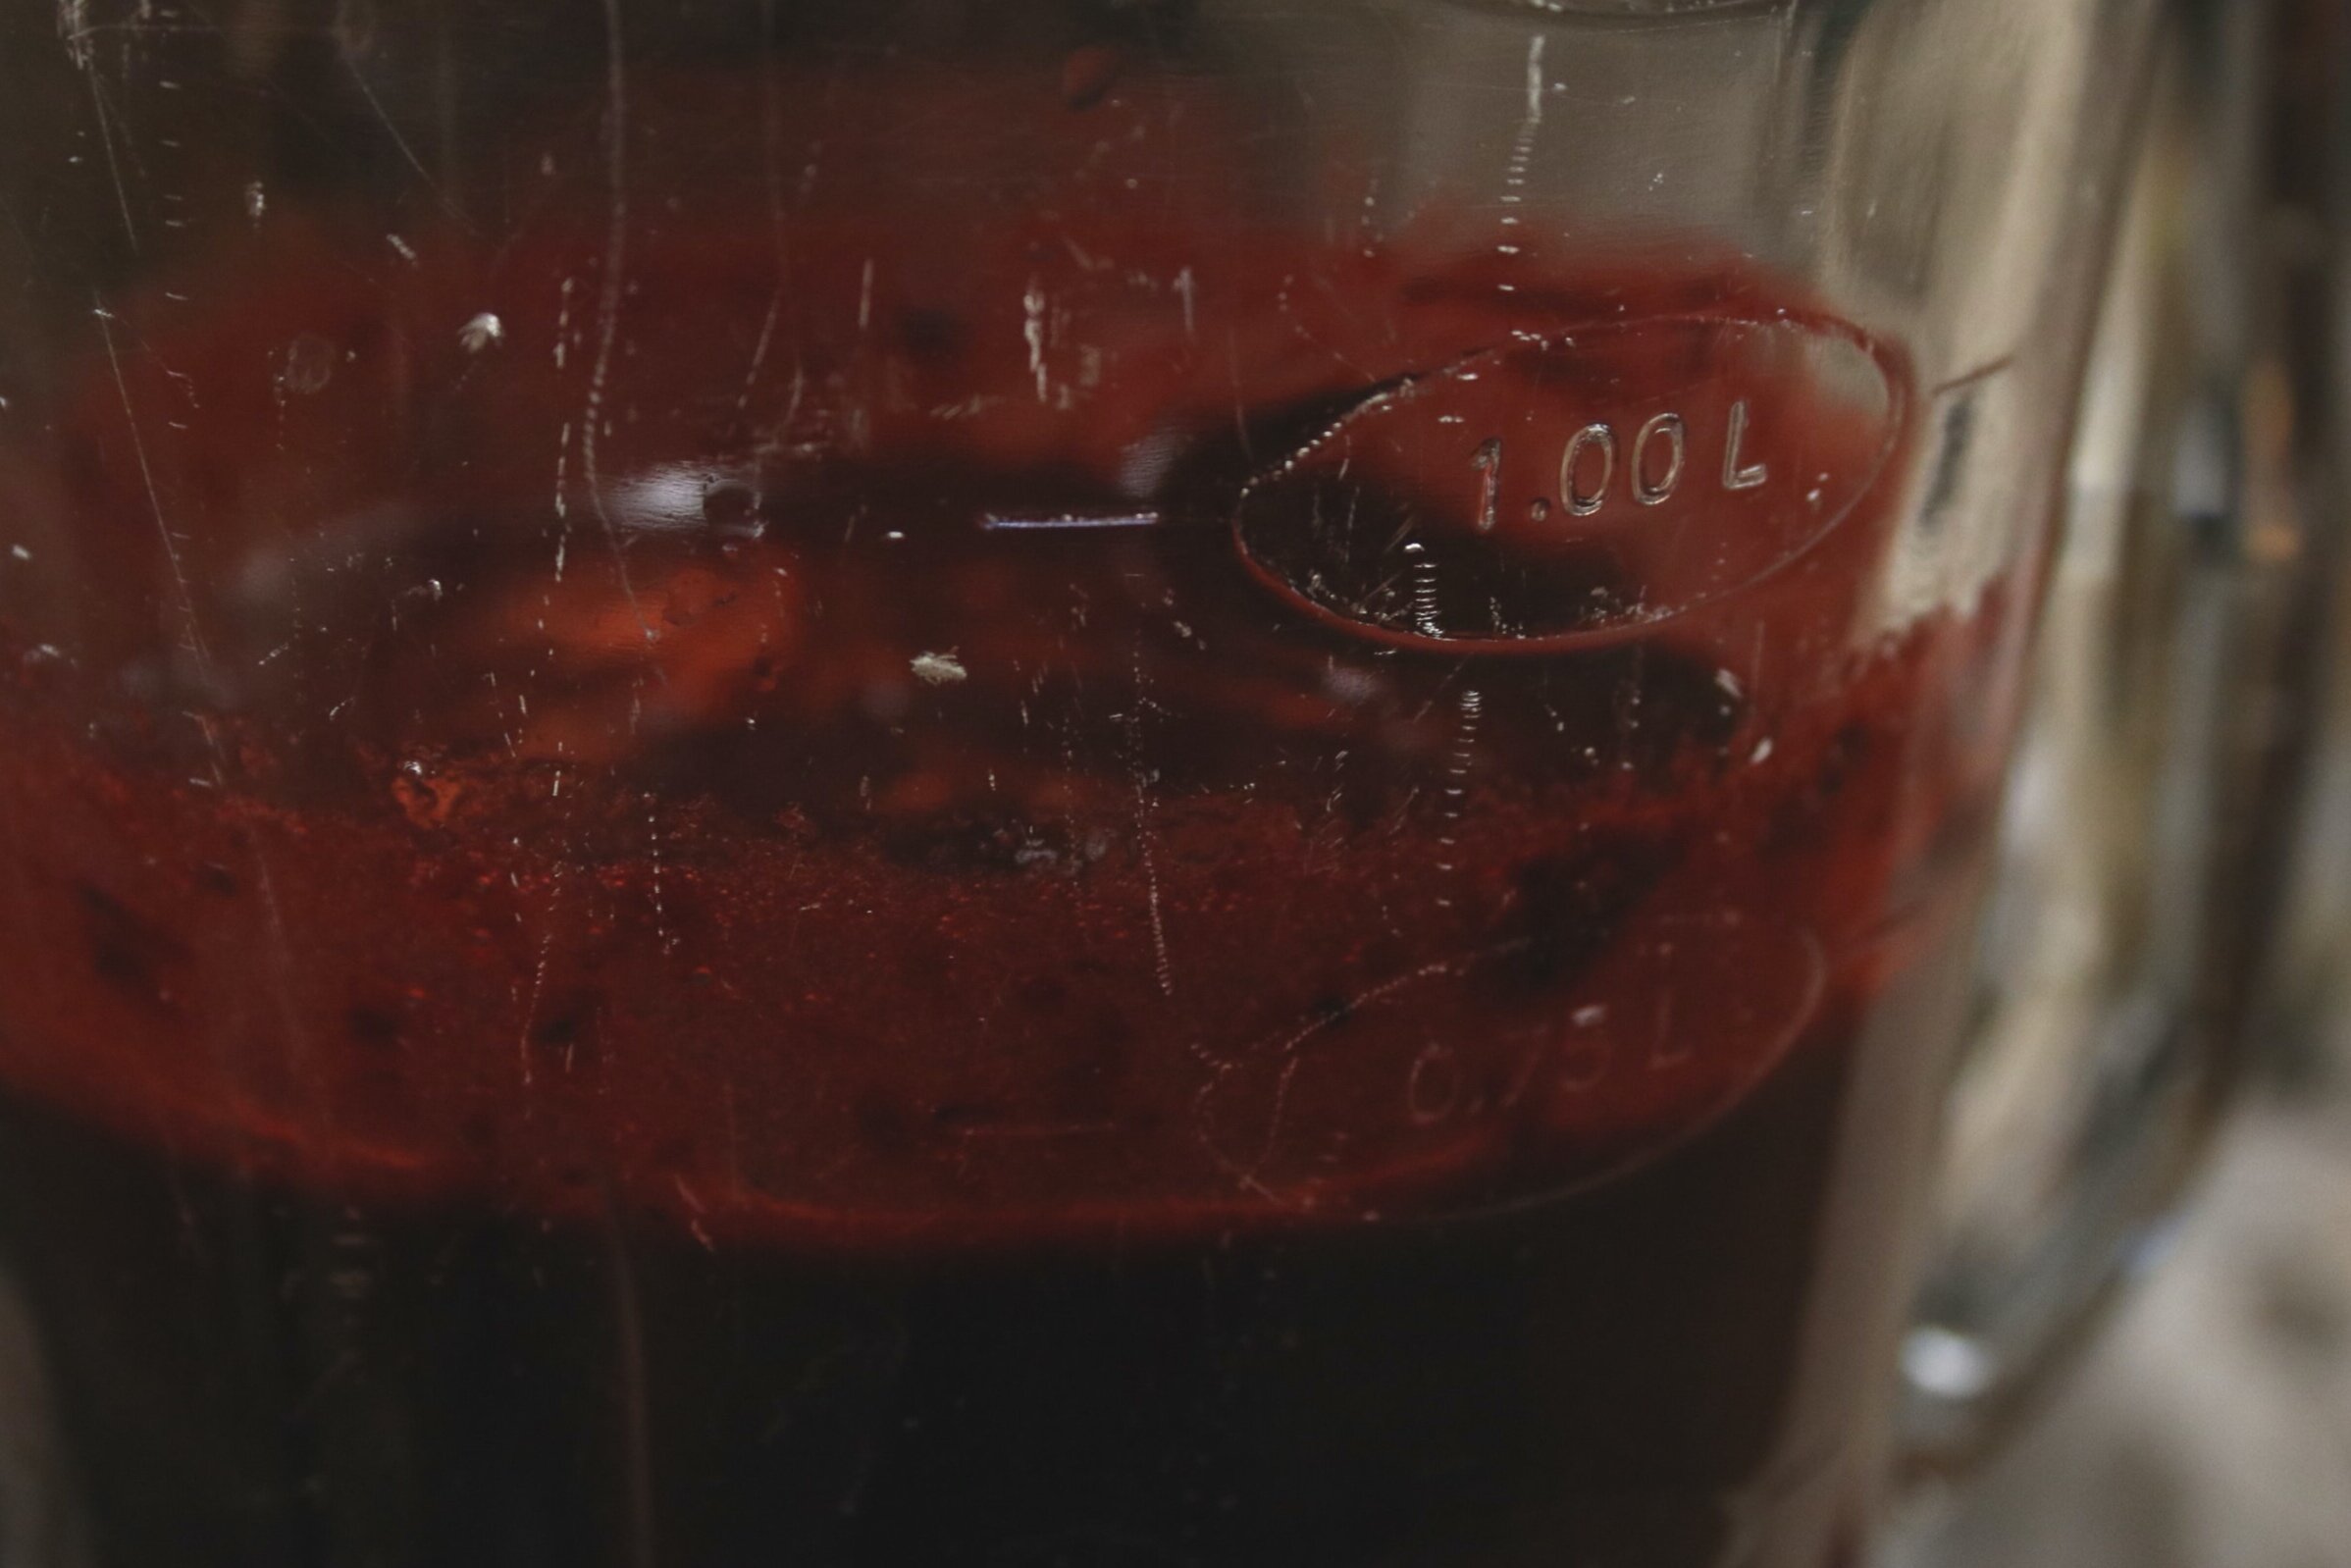
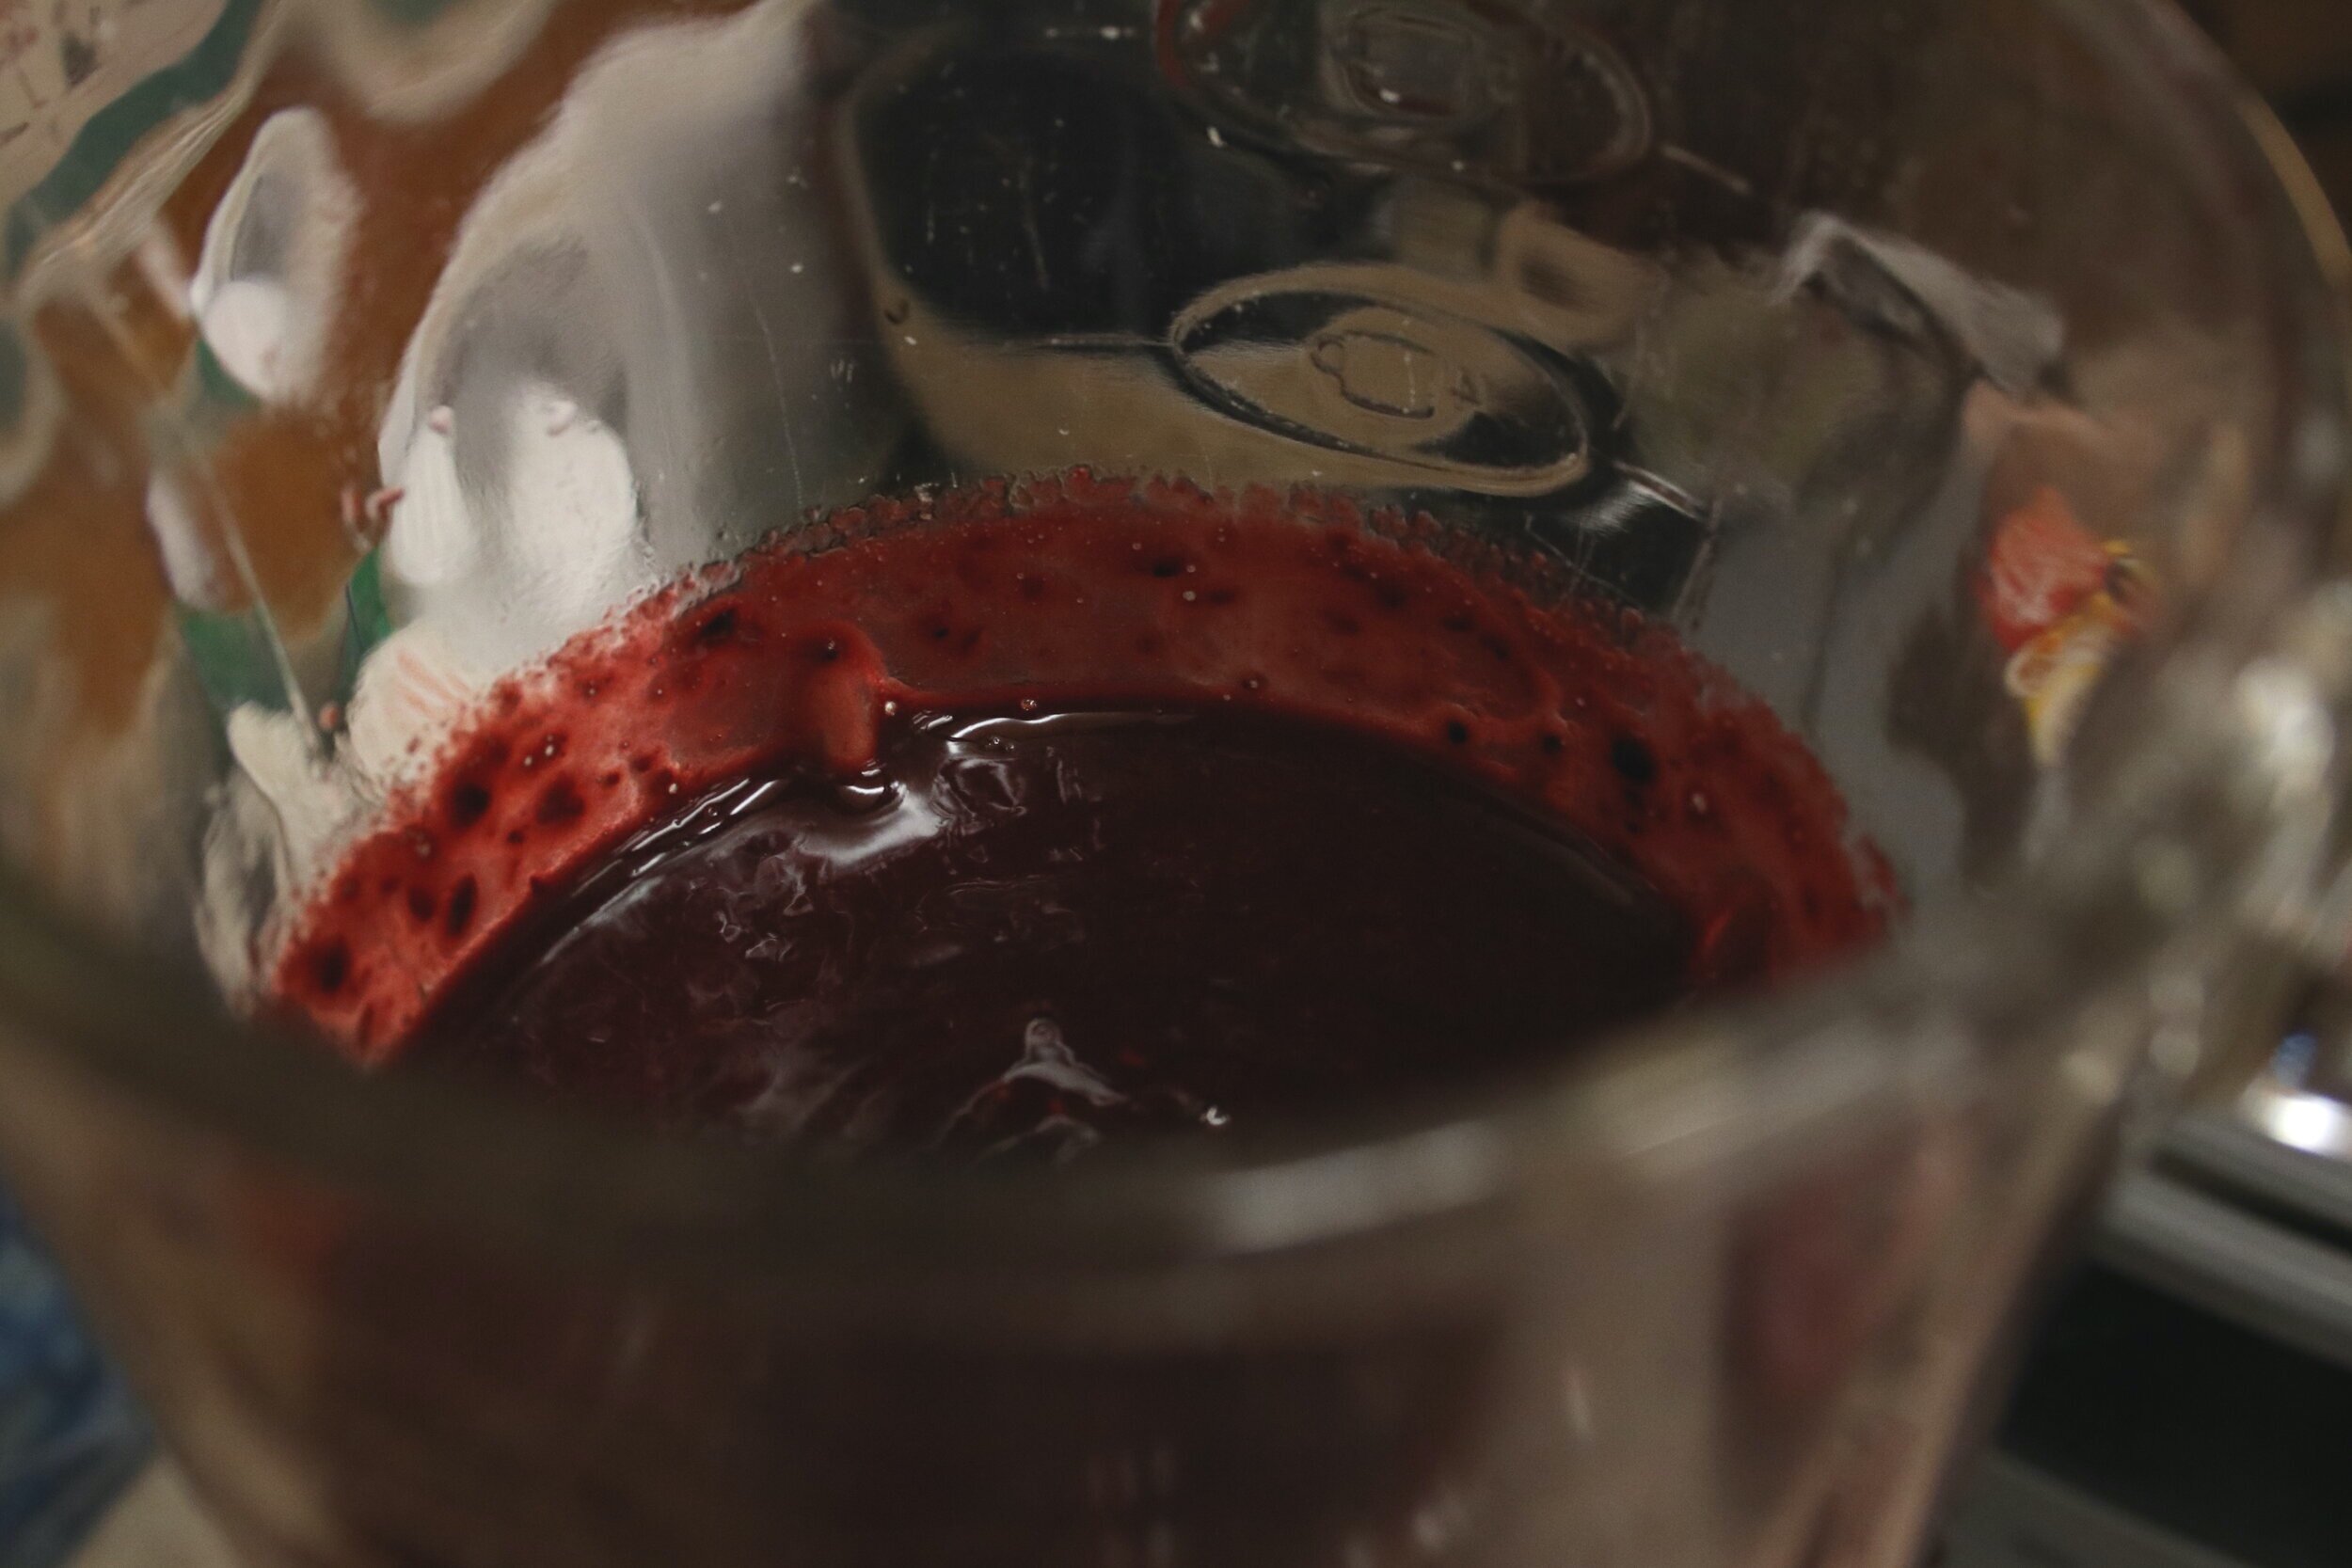
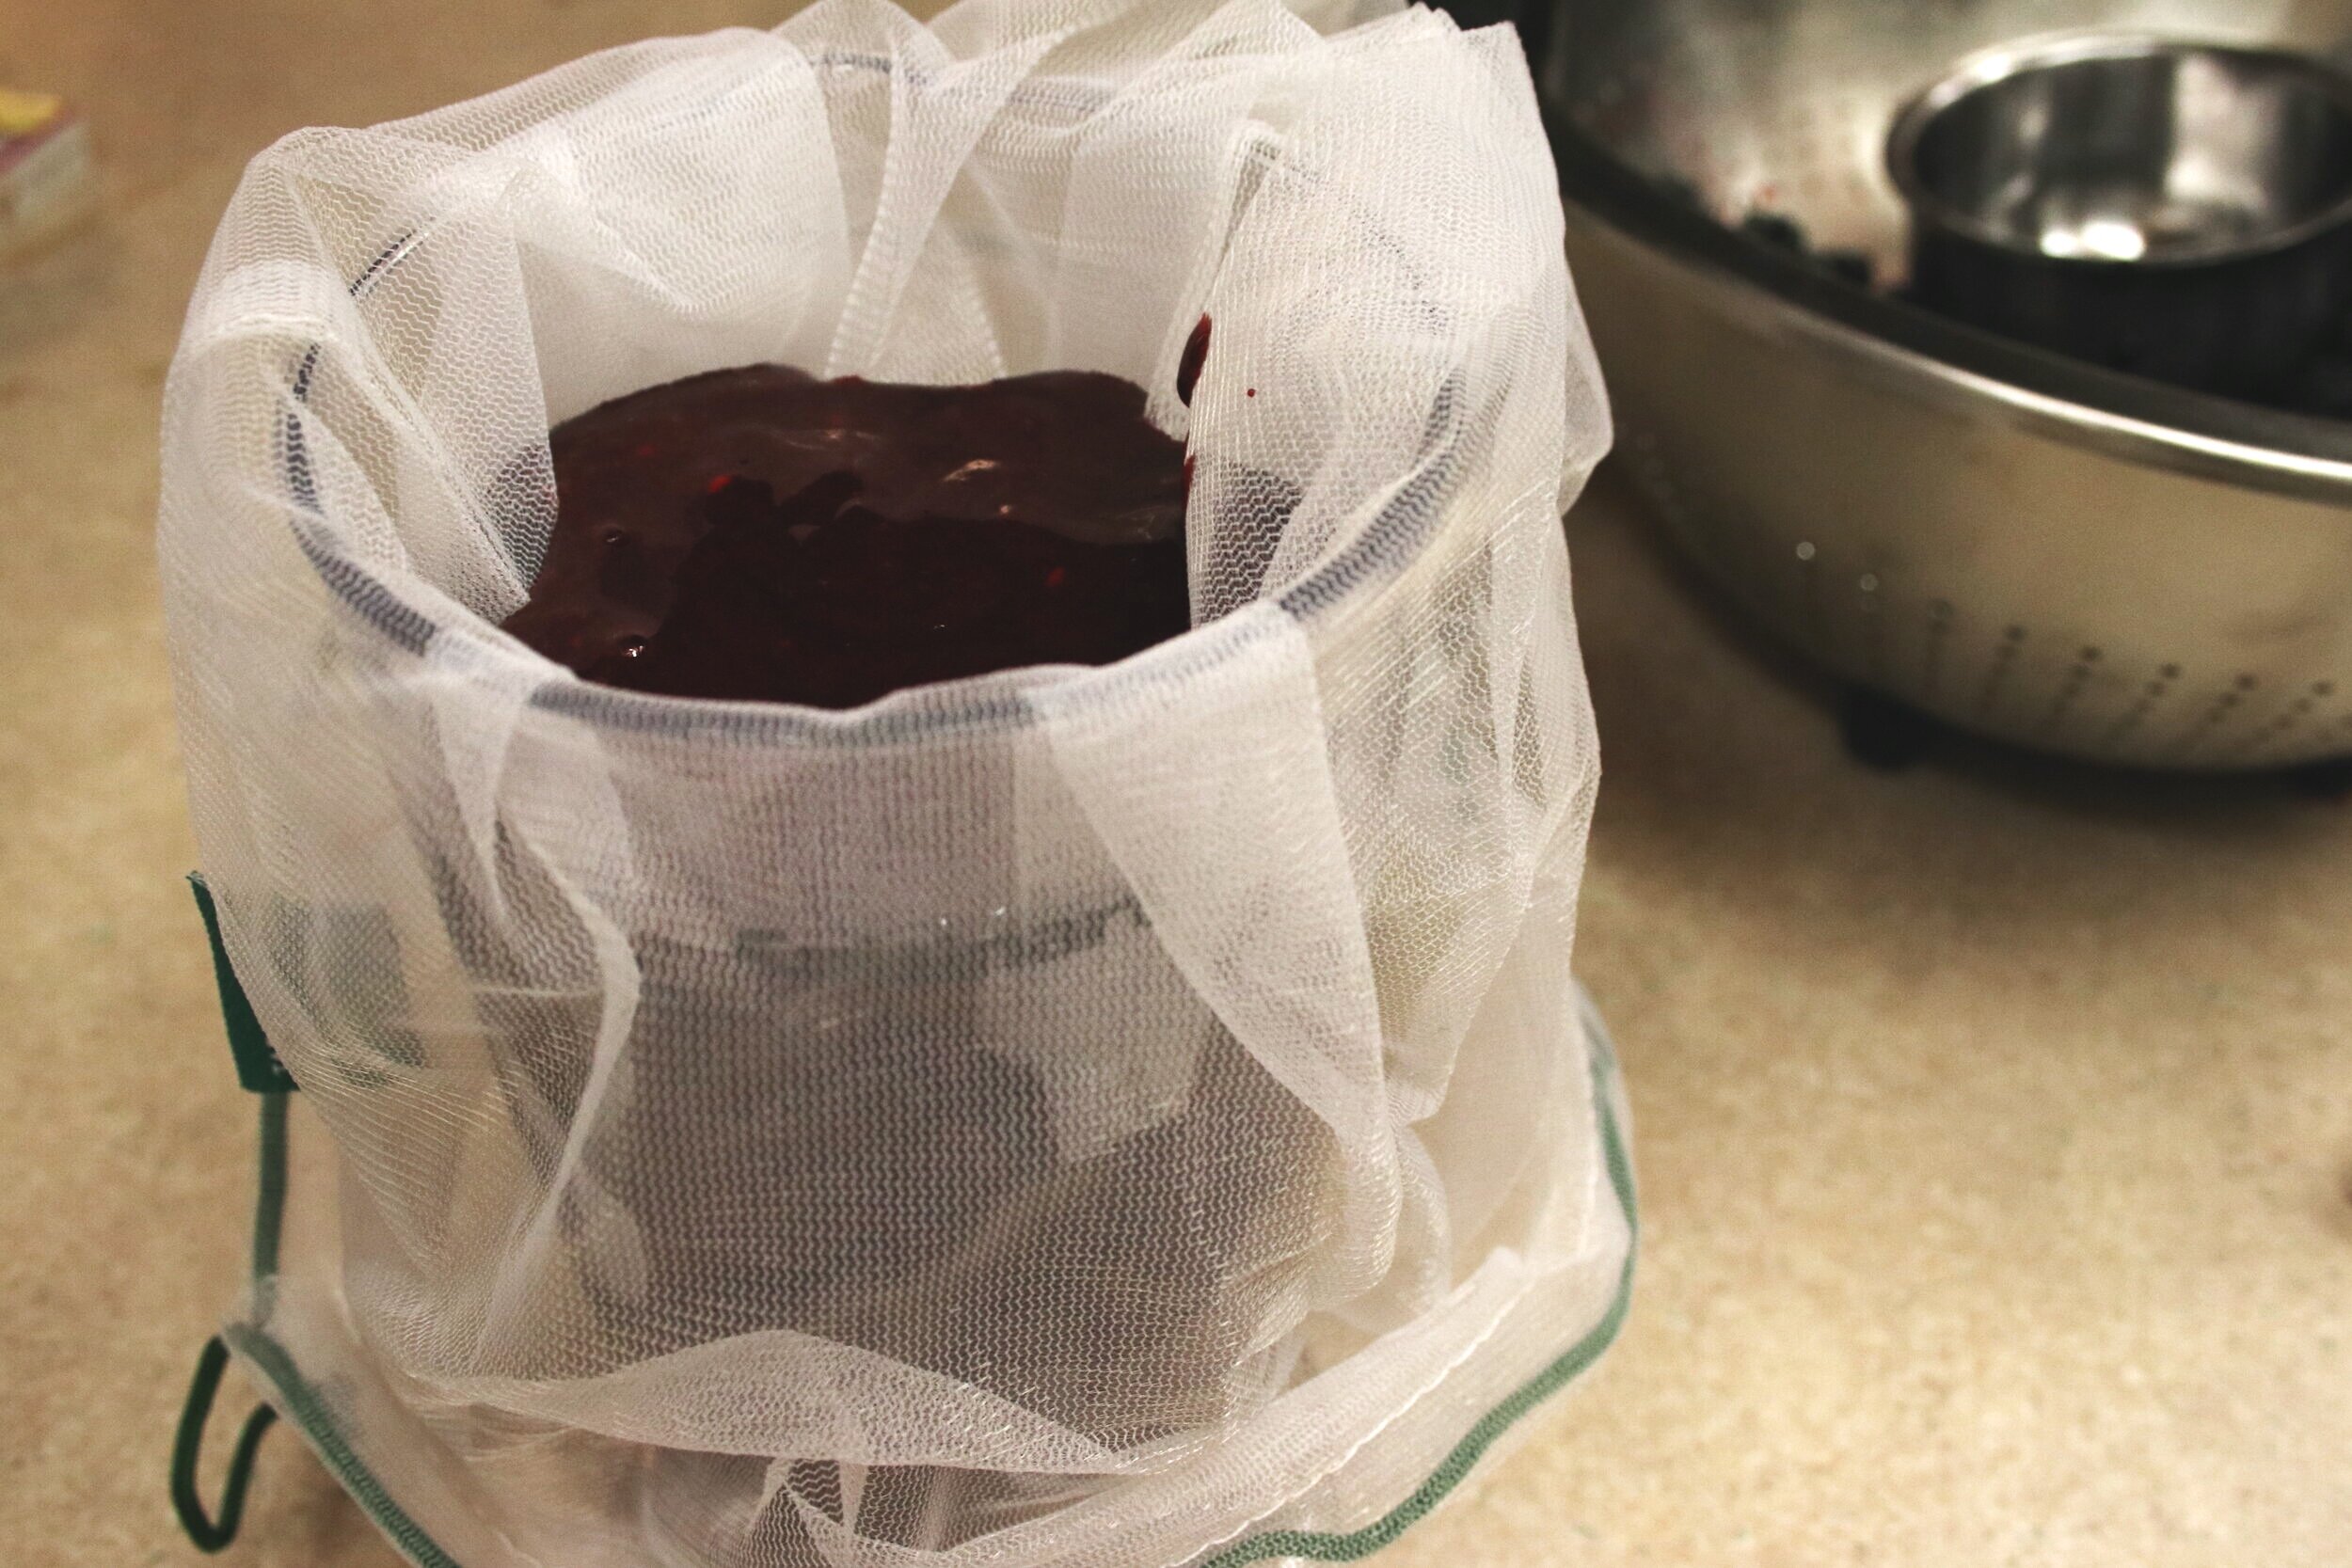

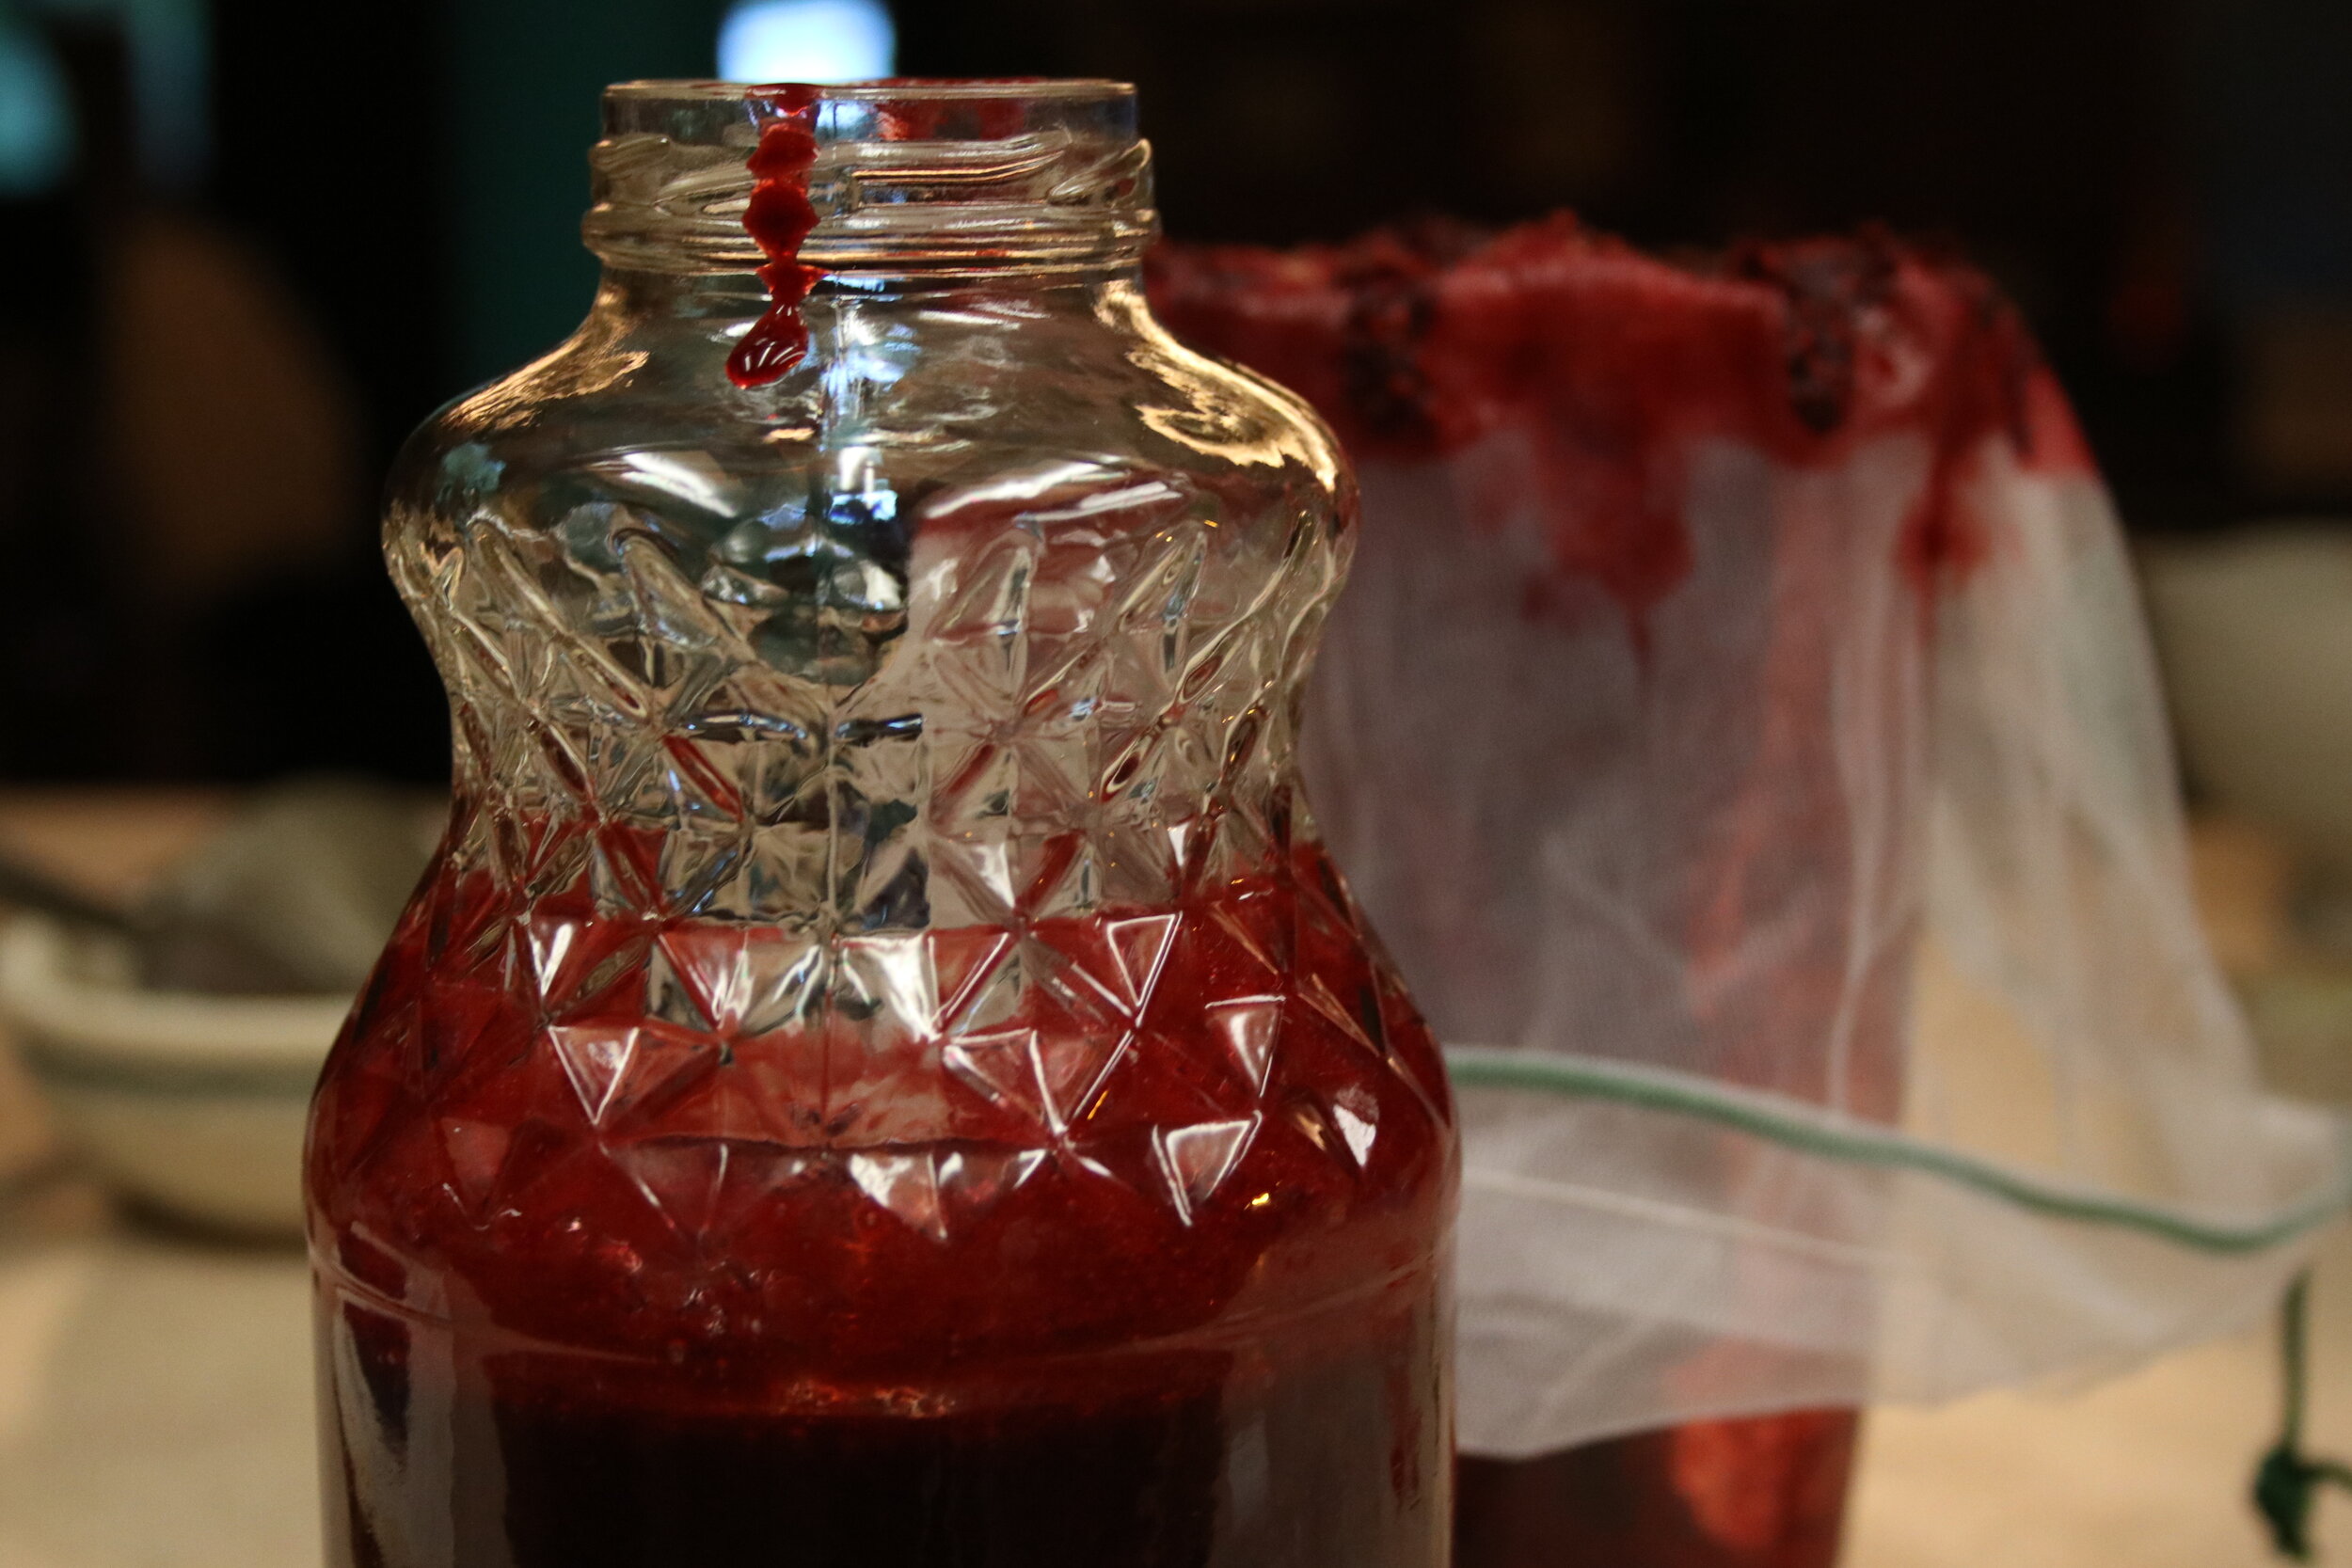
To make all of these whole blackberries into a juice, I just used my blender and 1/2 cup of water. (If you add water, you will need to adjust your calculations on the sugar since you have now diluted your solution.) I blended the blackberries till they looked like a smoothie fit for Duracula, and put the mix through a mesh bag to strain out all of the seeds.
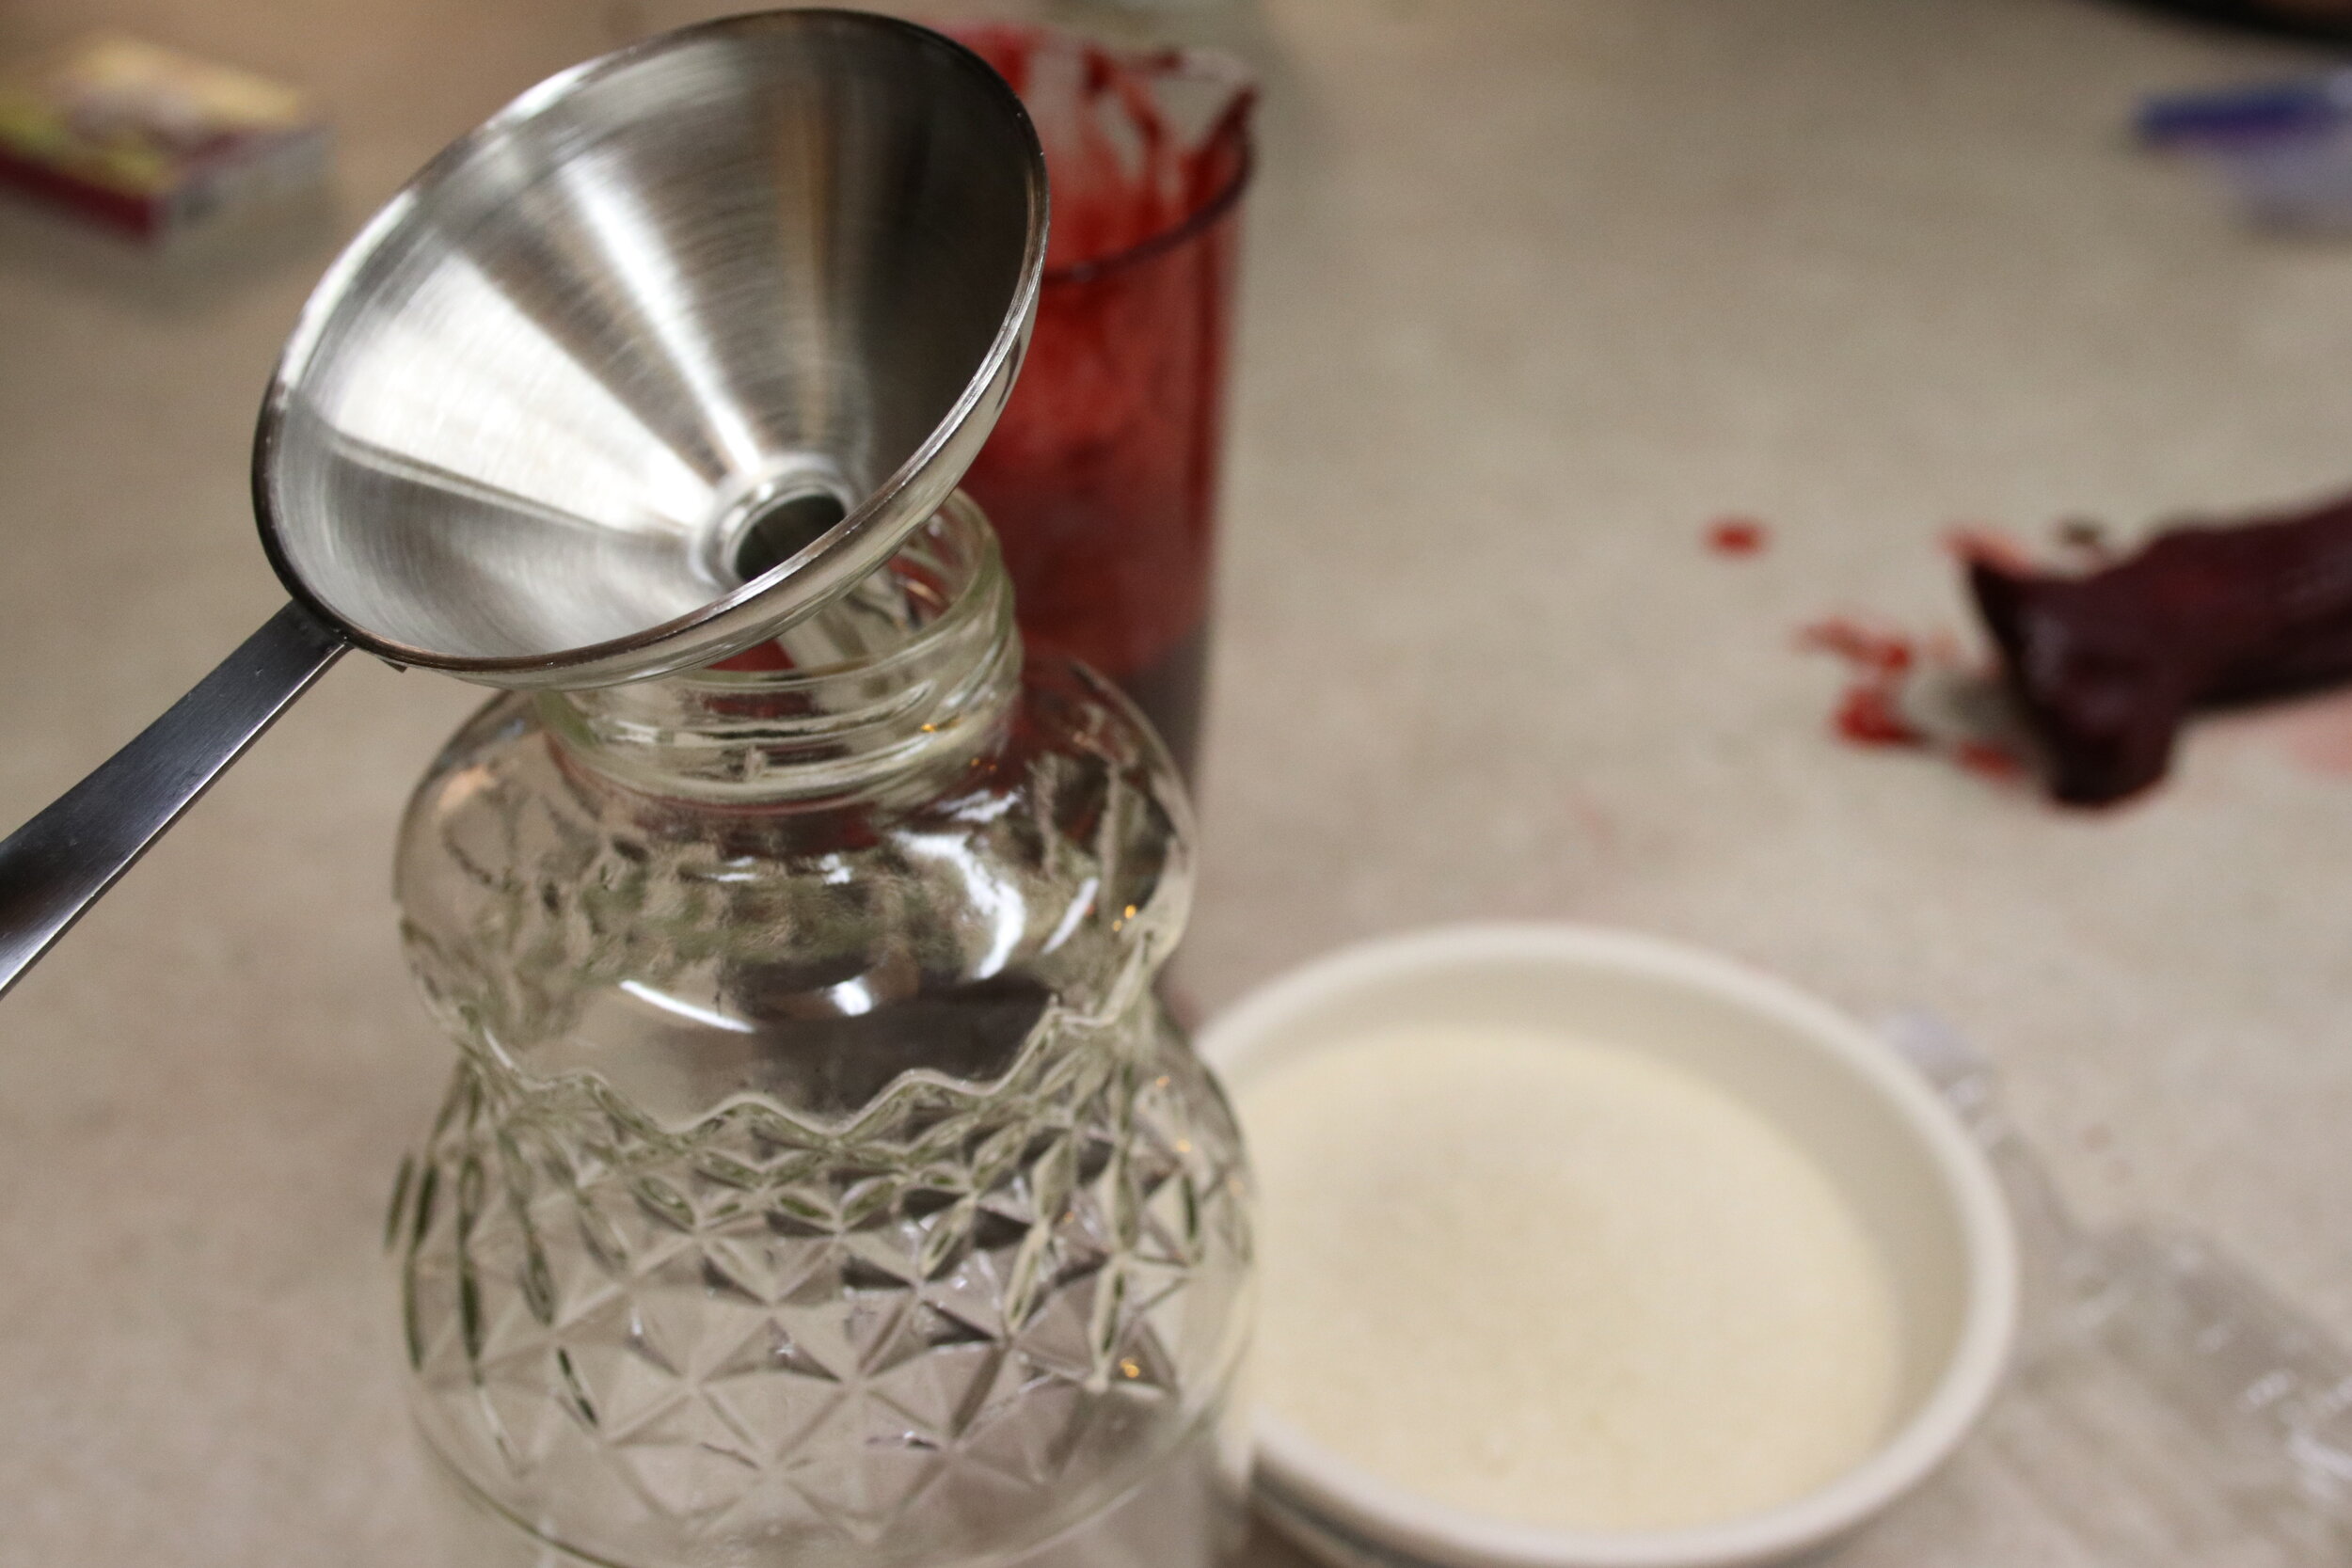
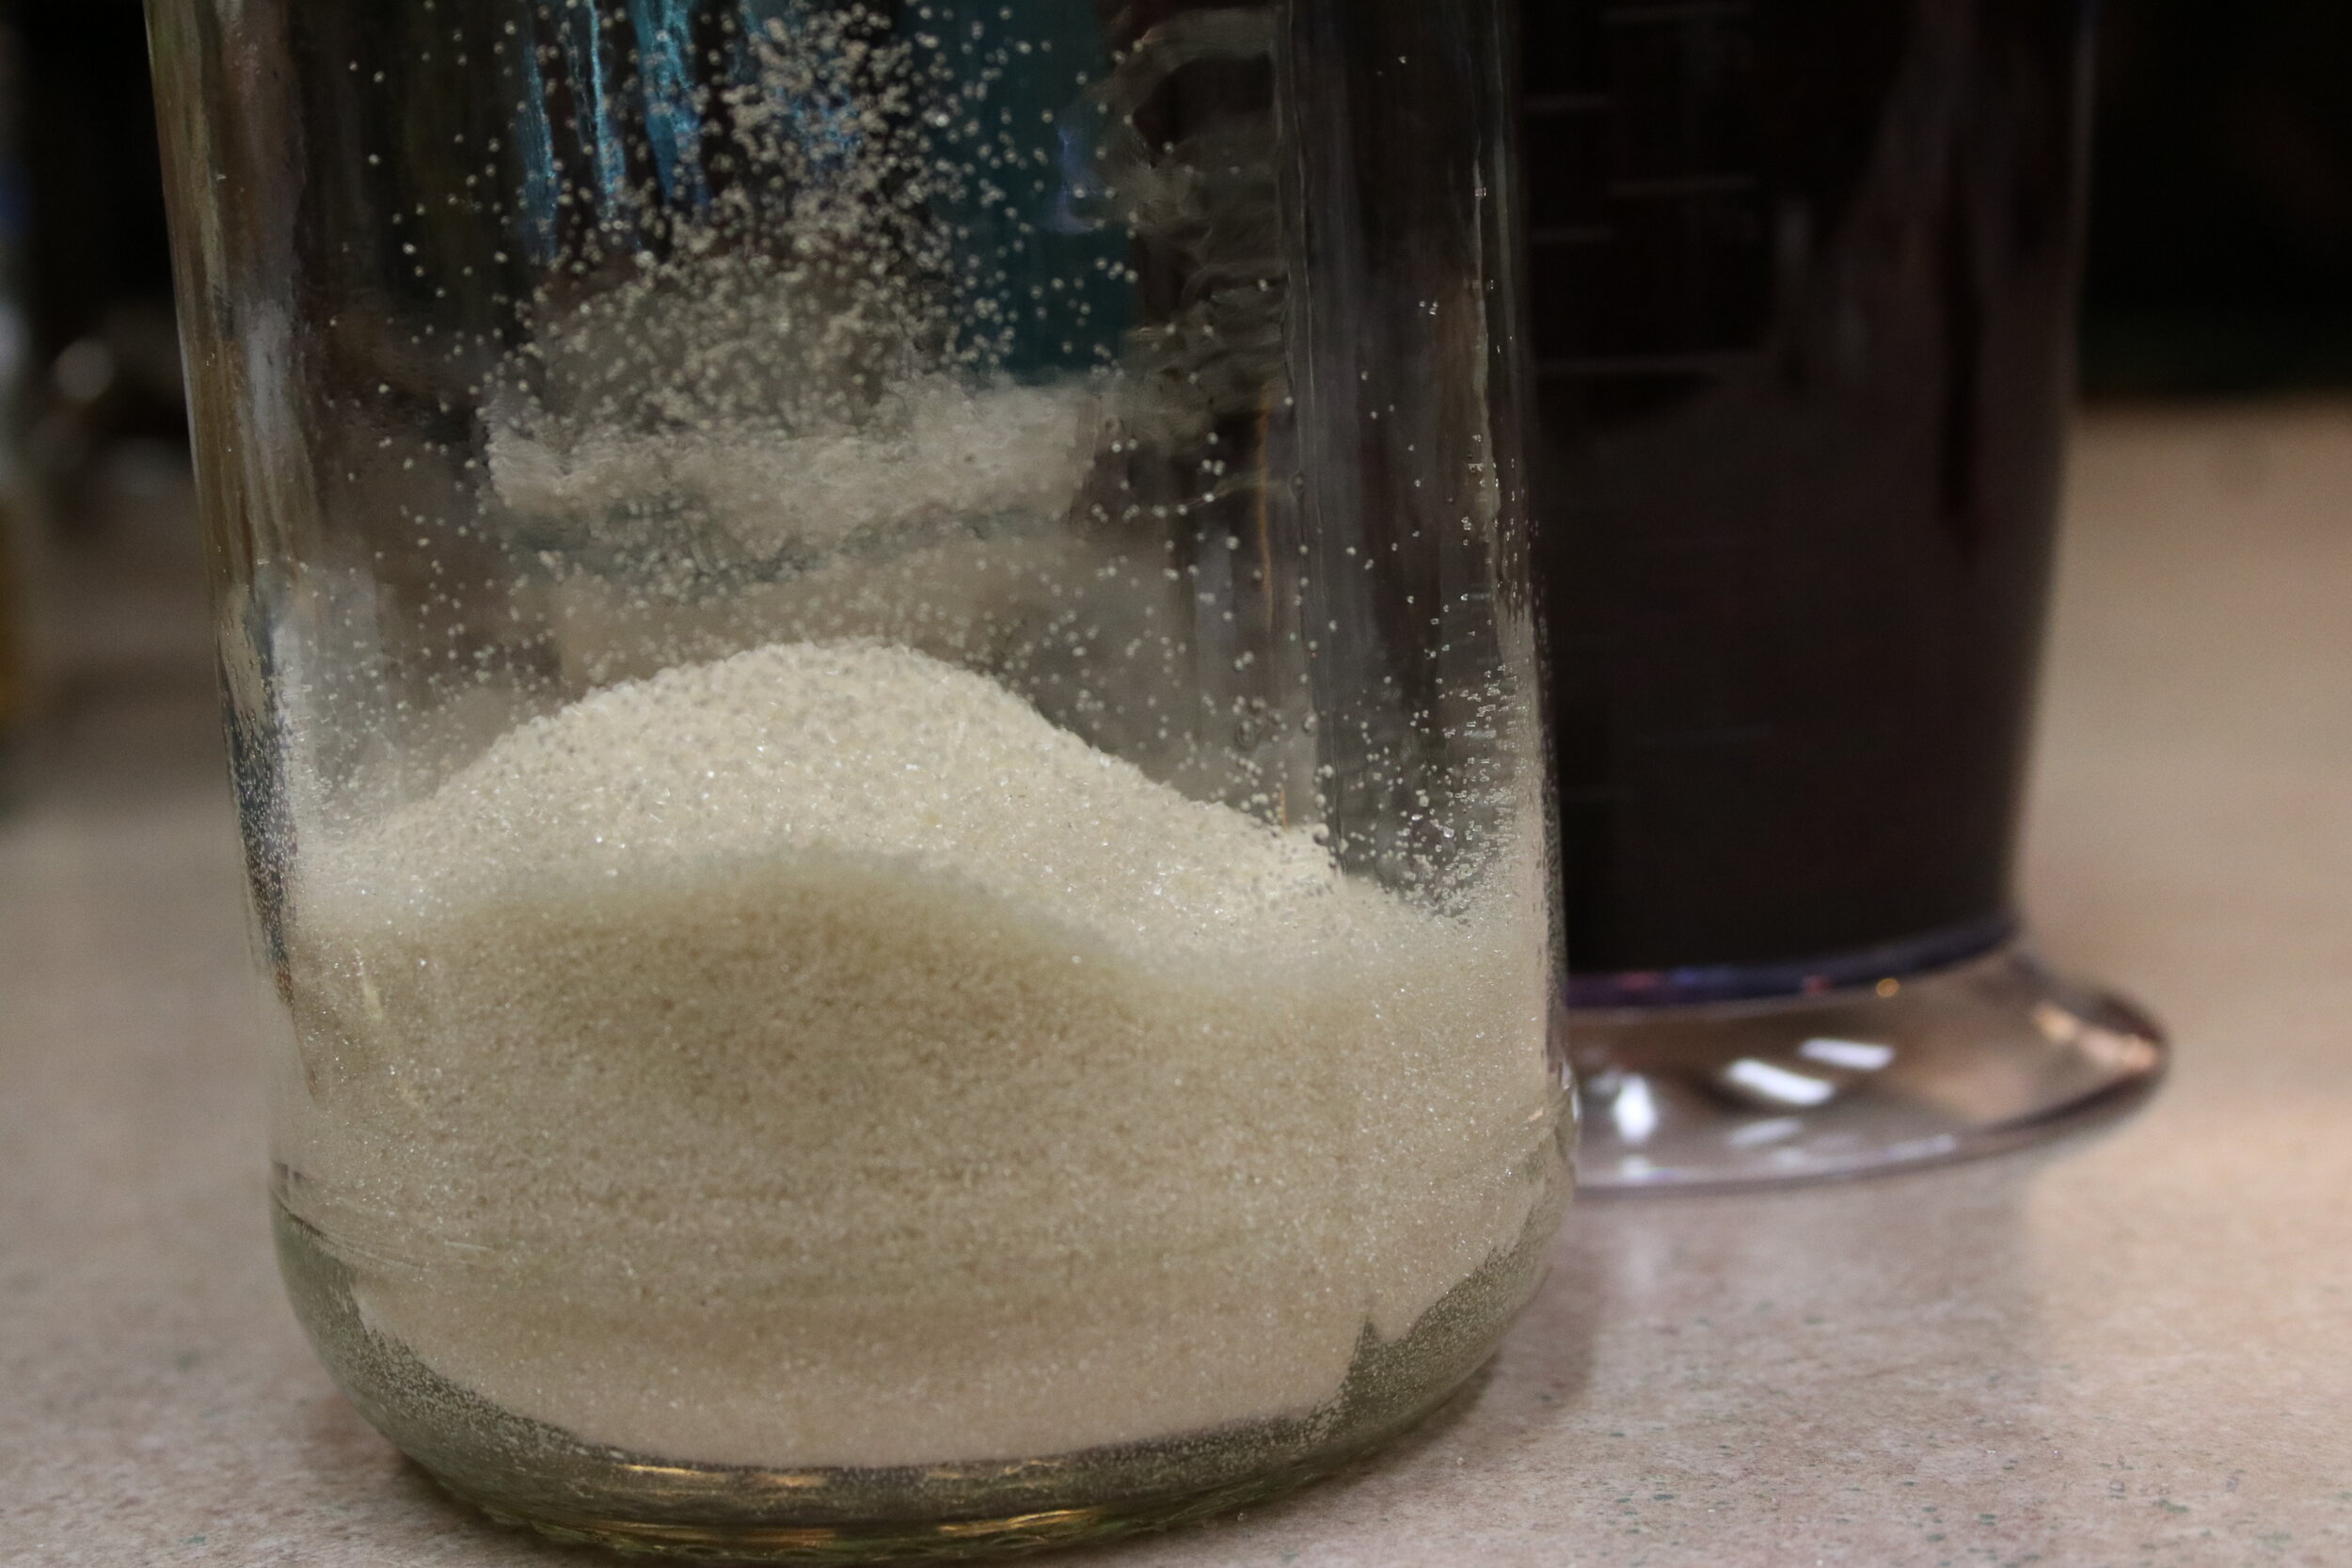
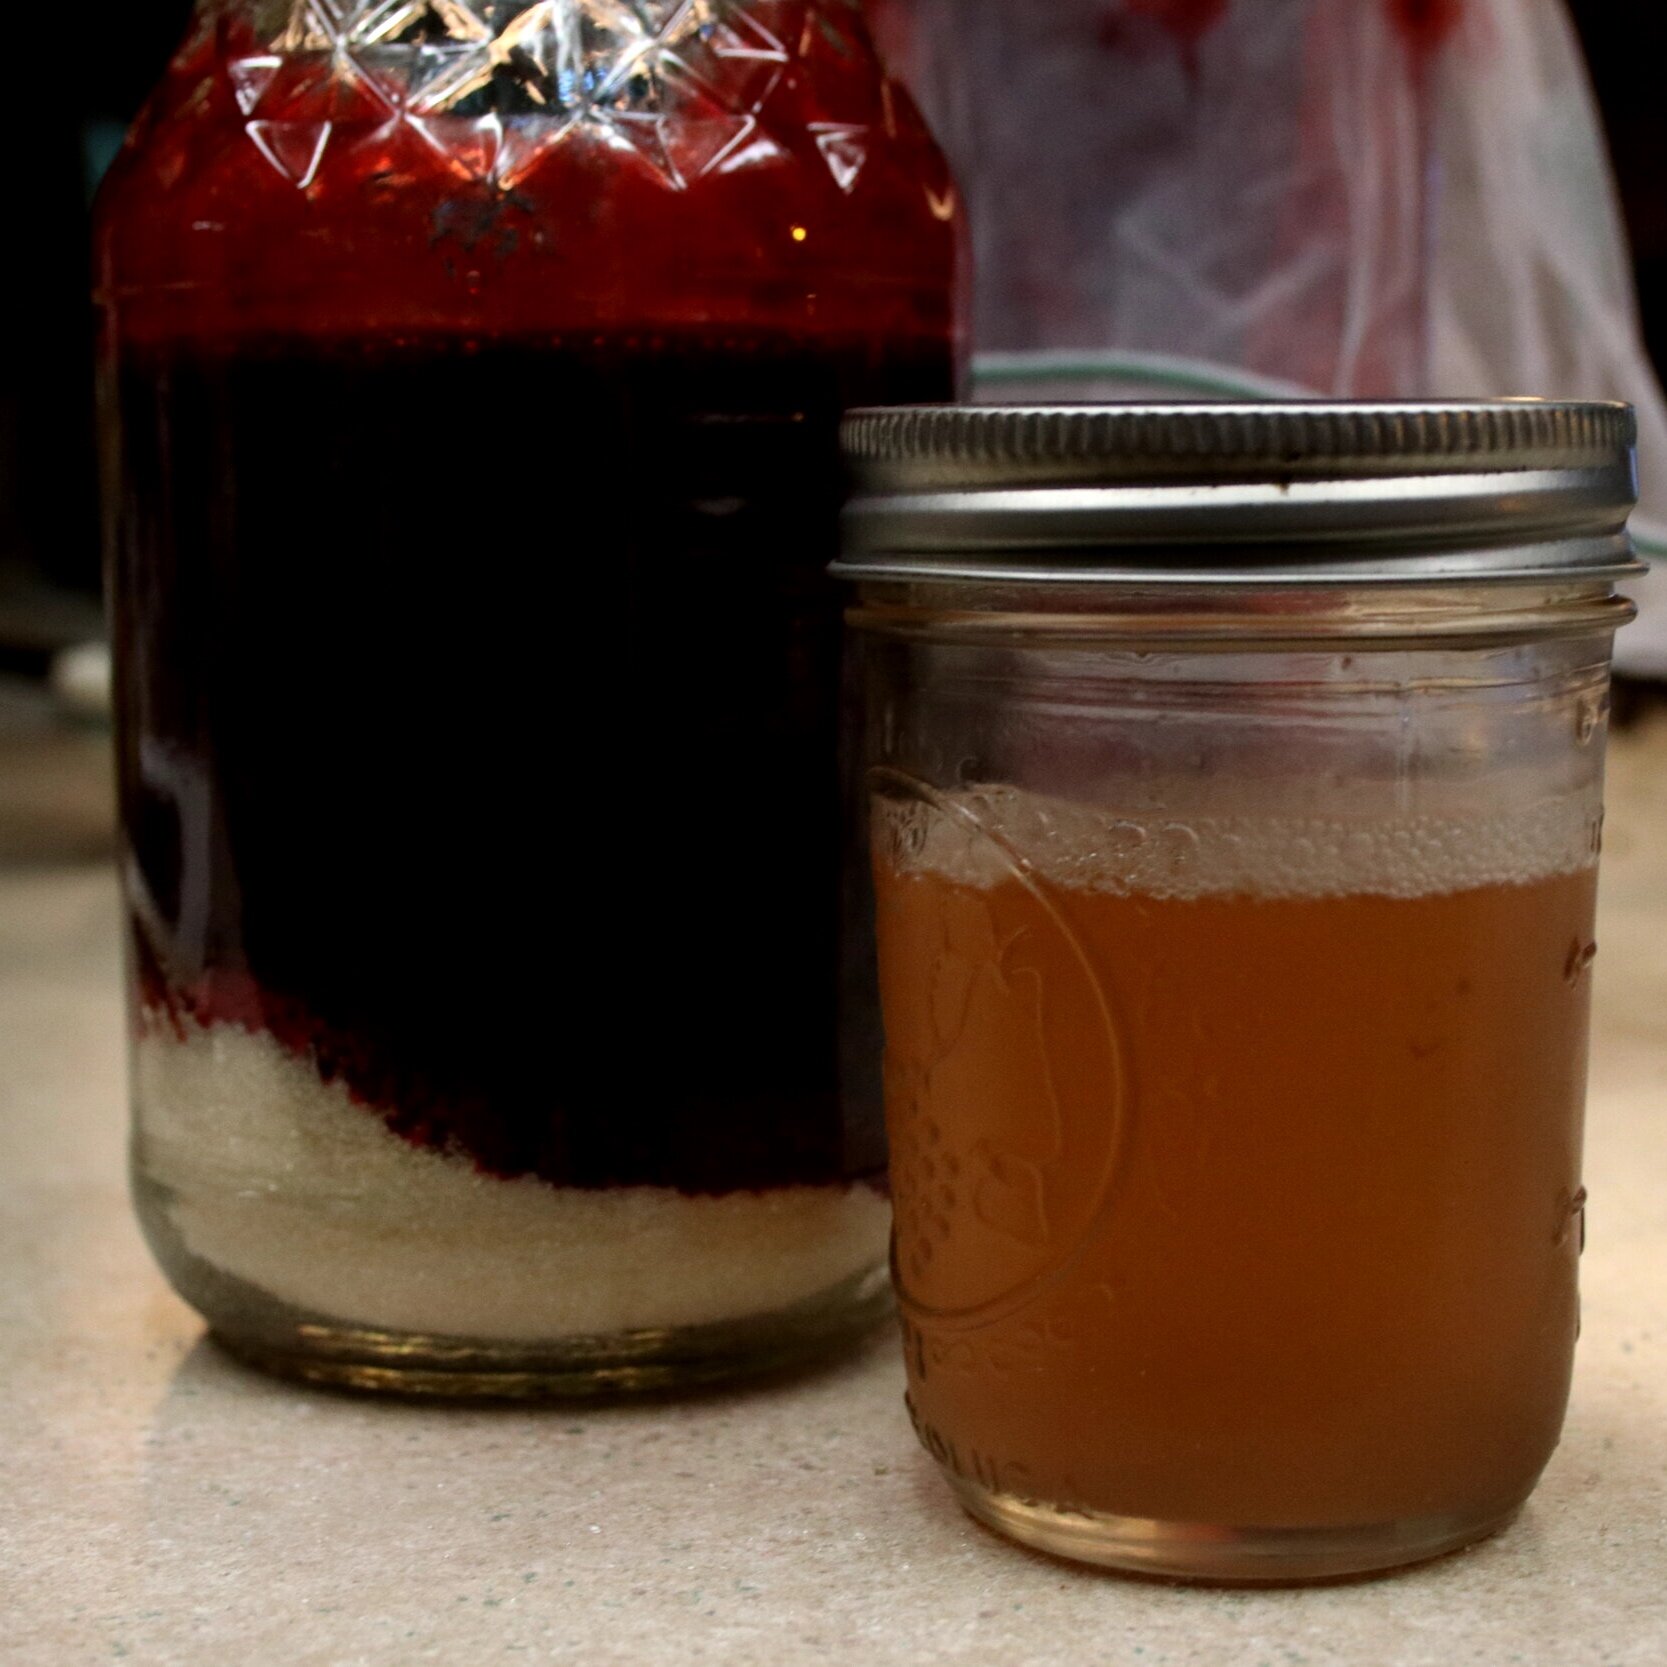
In a clean glass jar, add the sugar, the blackberry juice and 1/2 cup of your yeast starter, and shake it up to mix and dissolve the sugar.
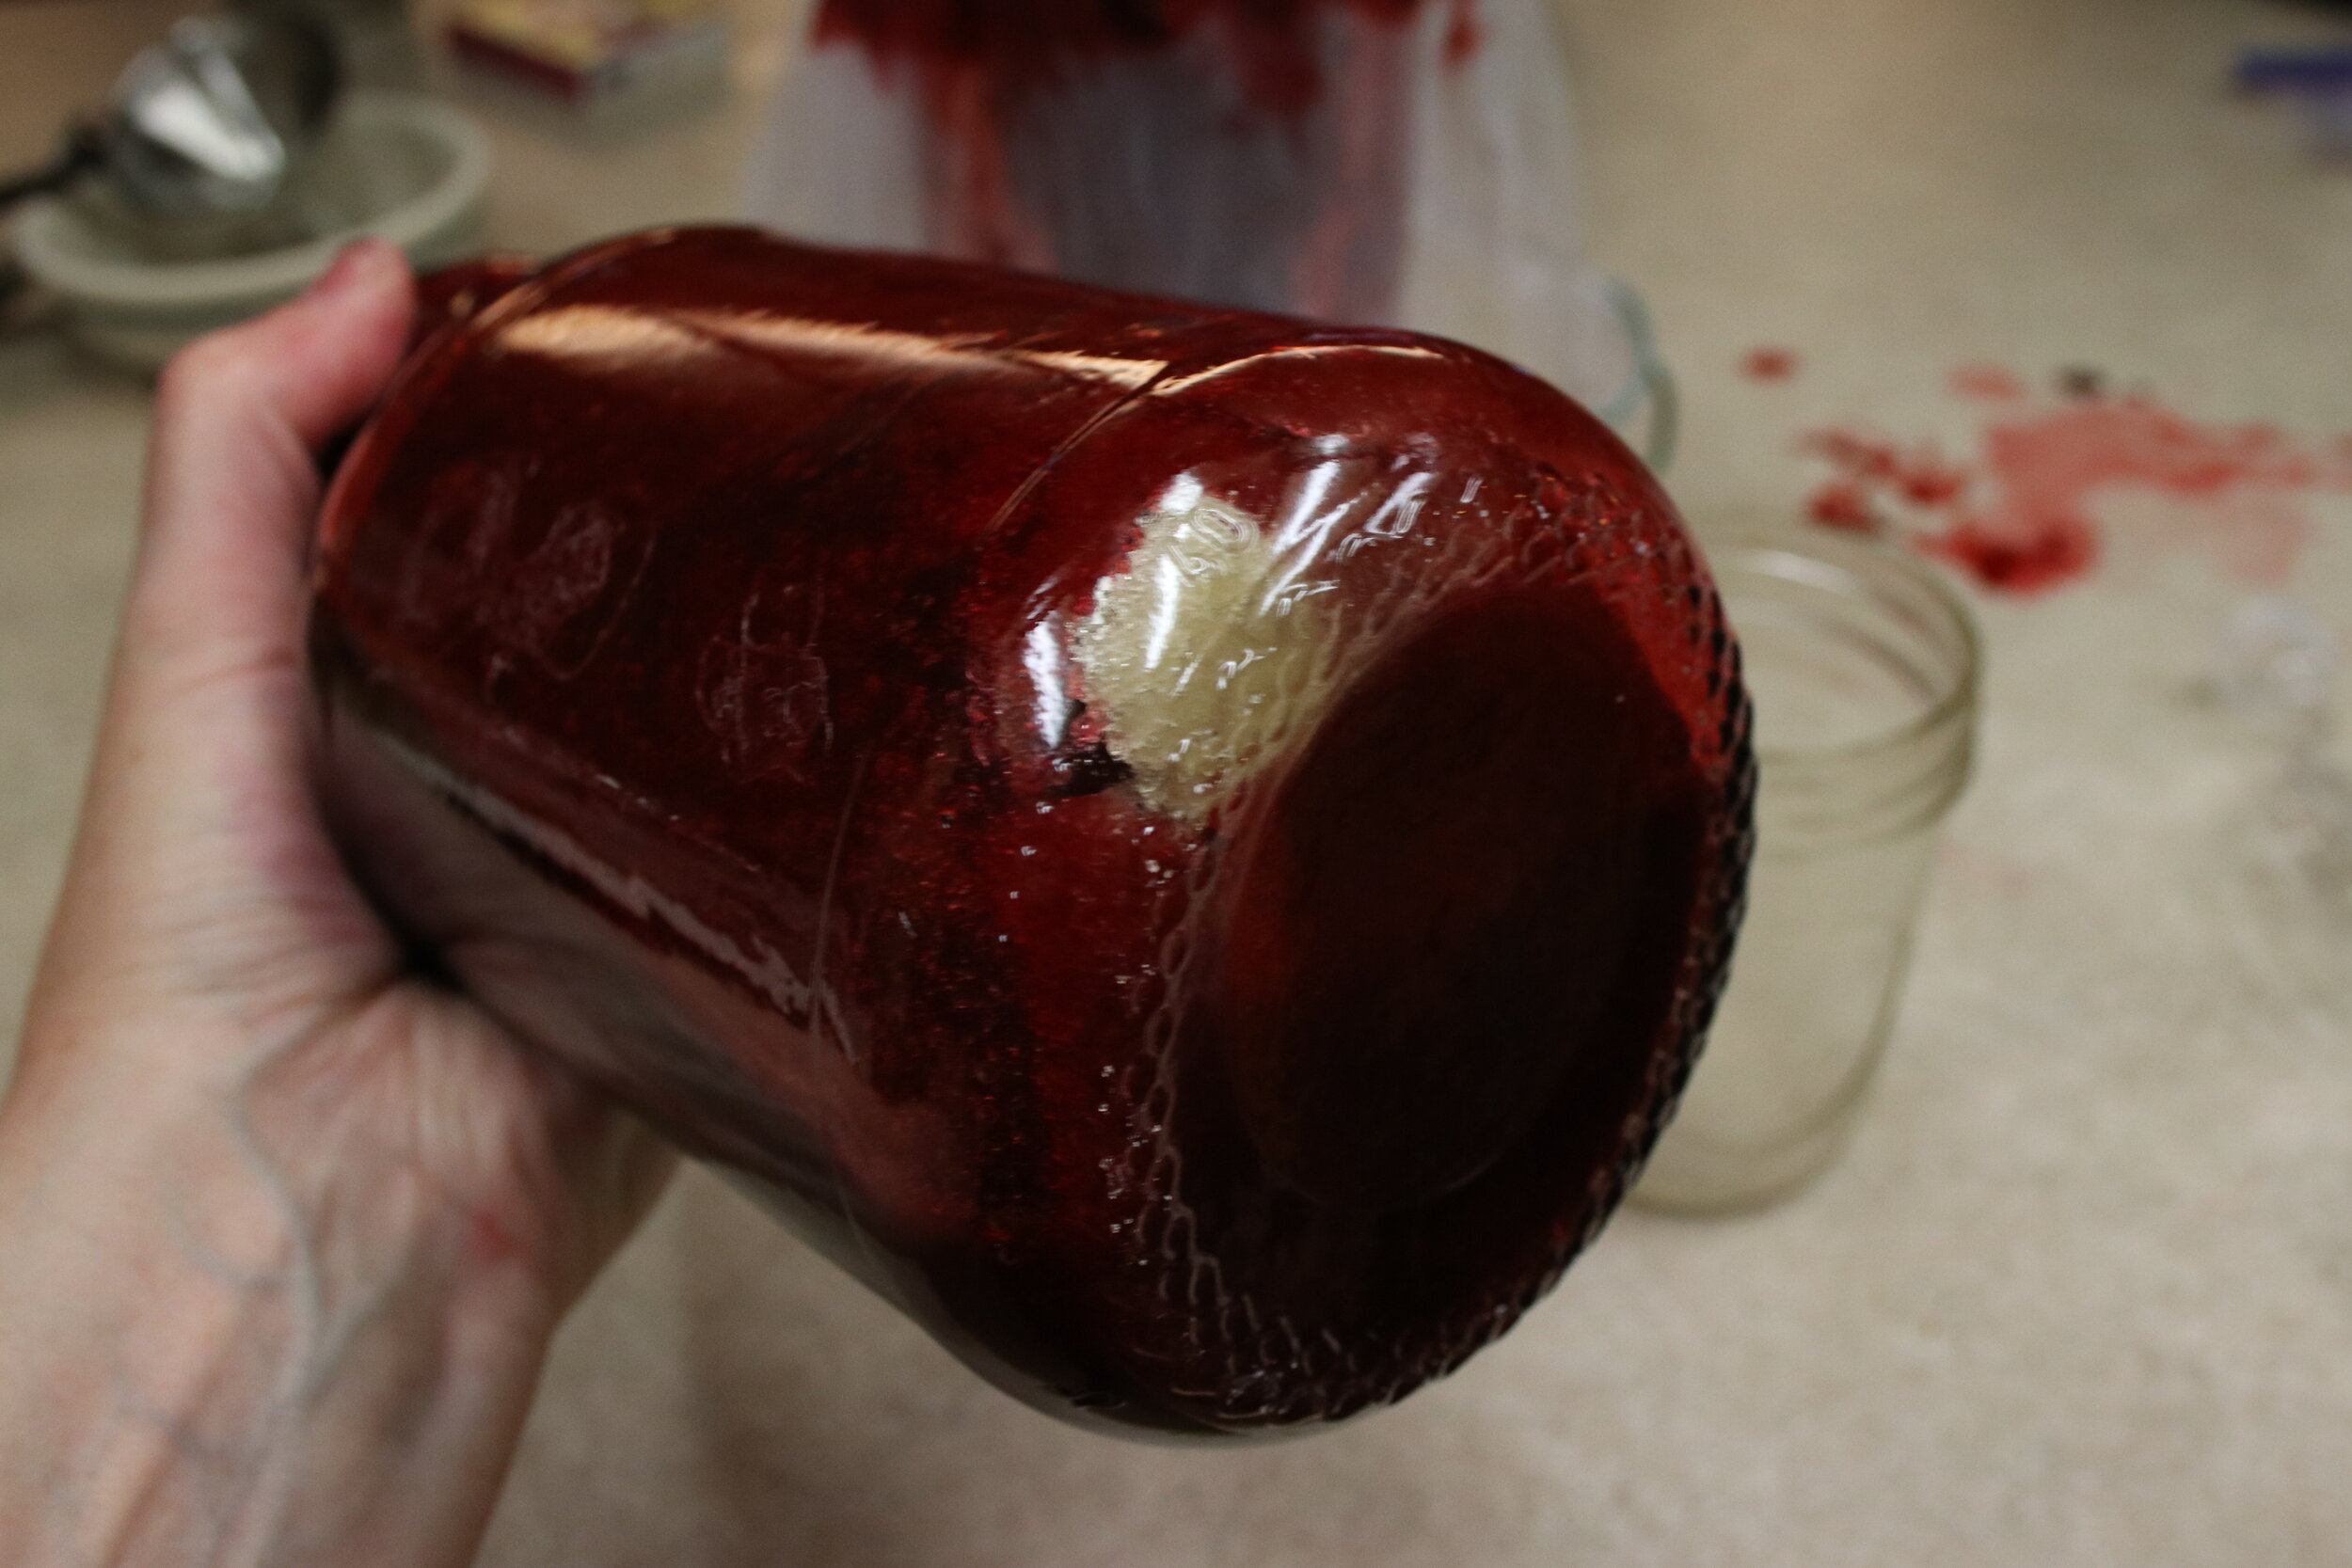
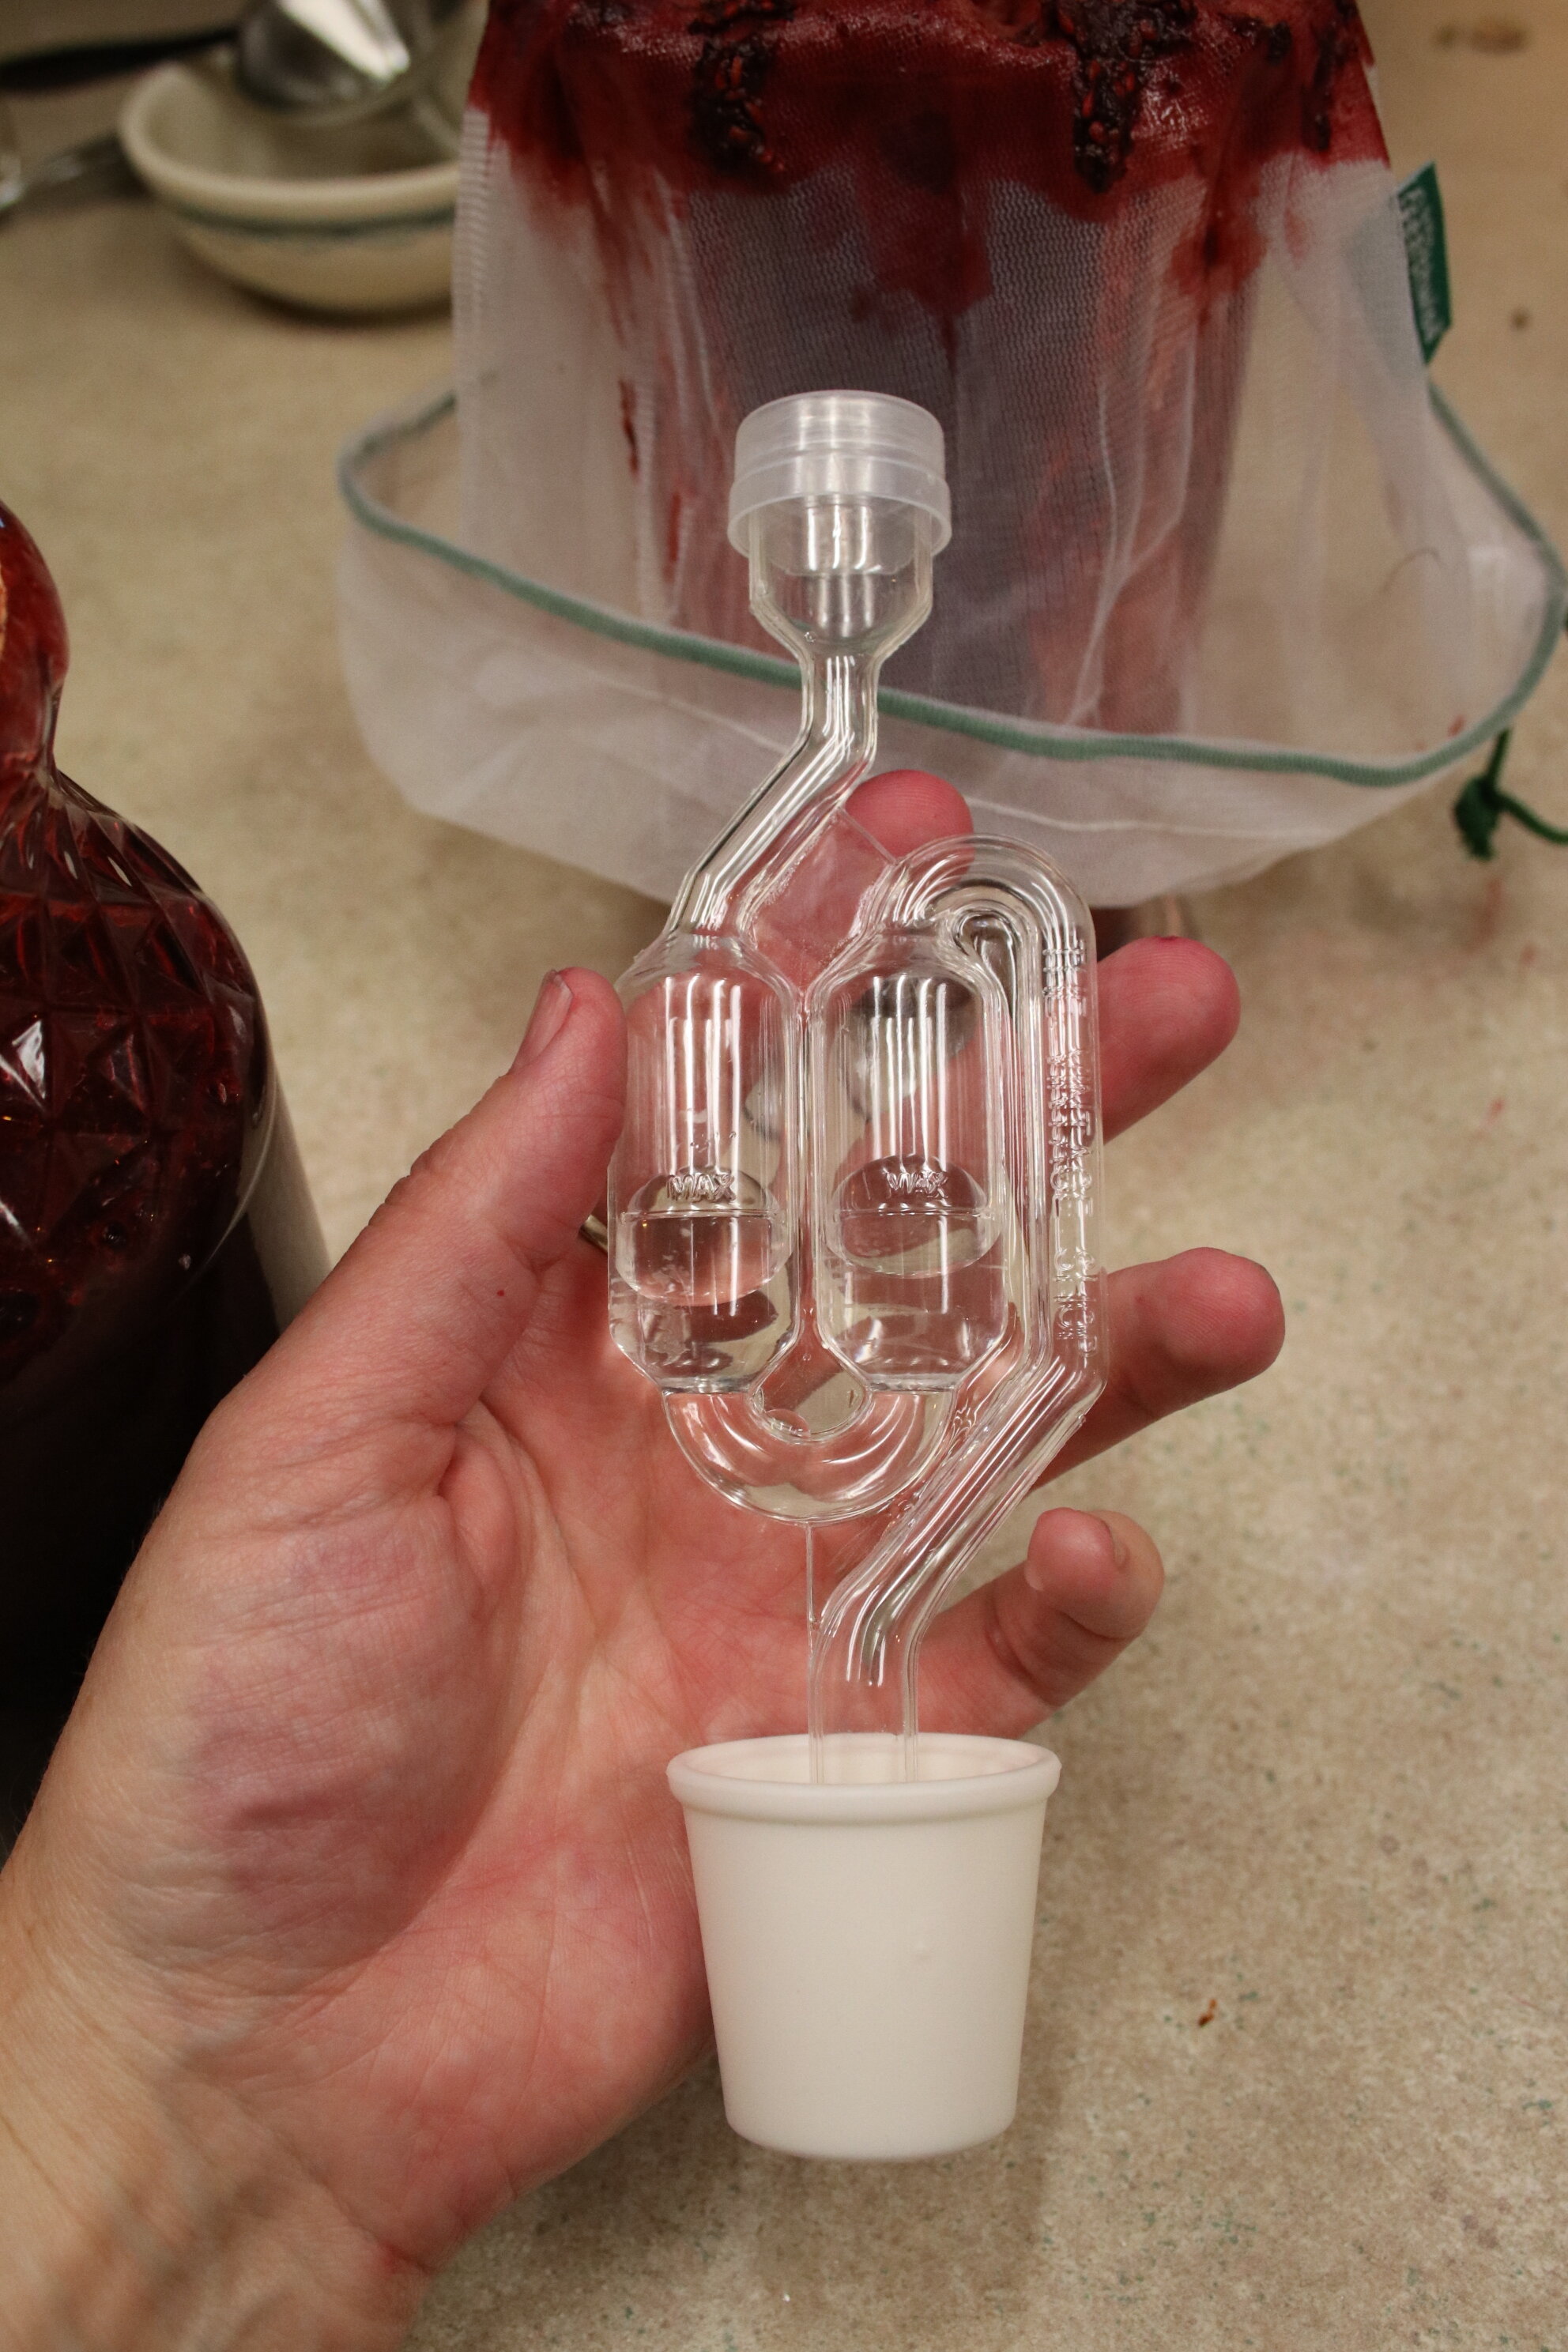
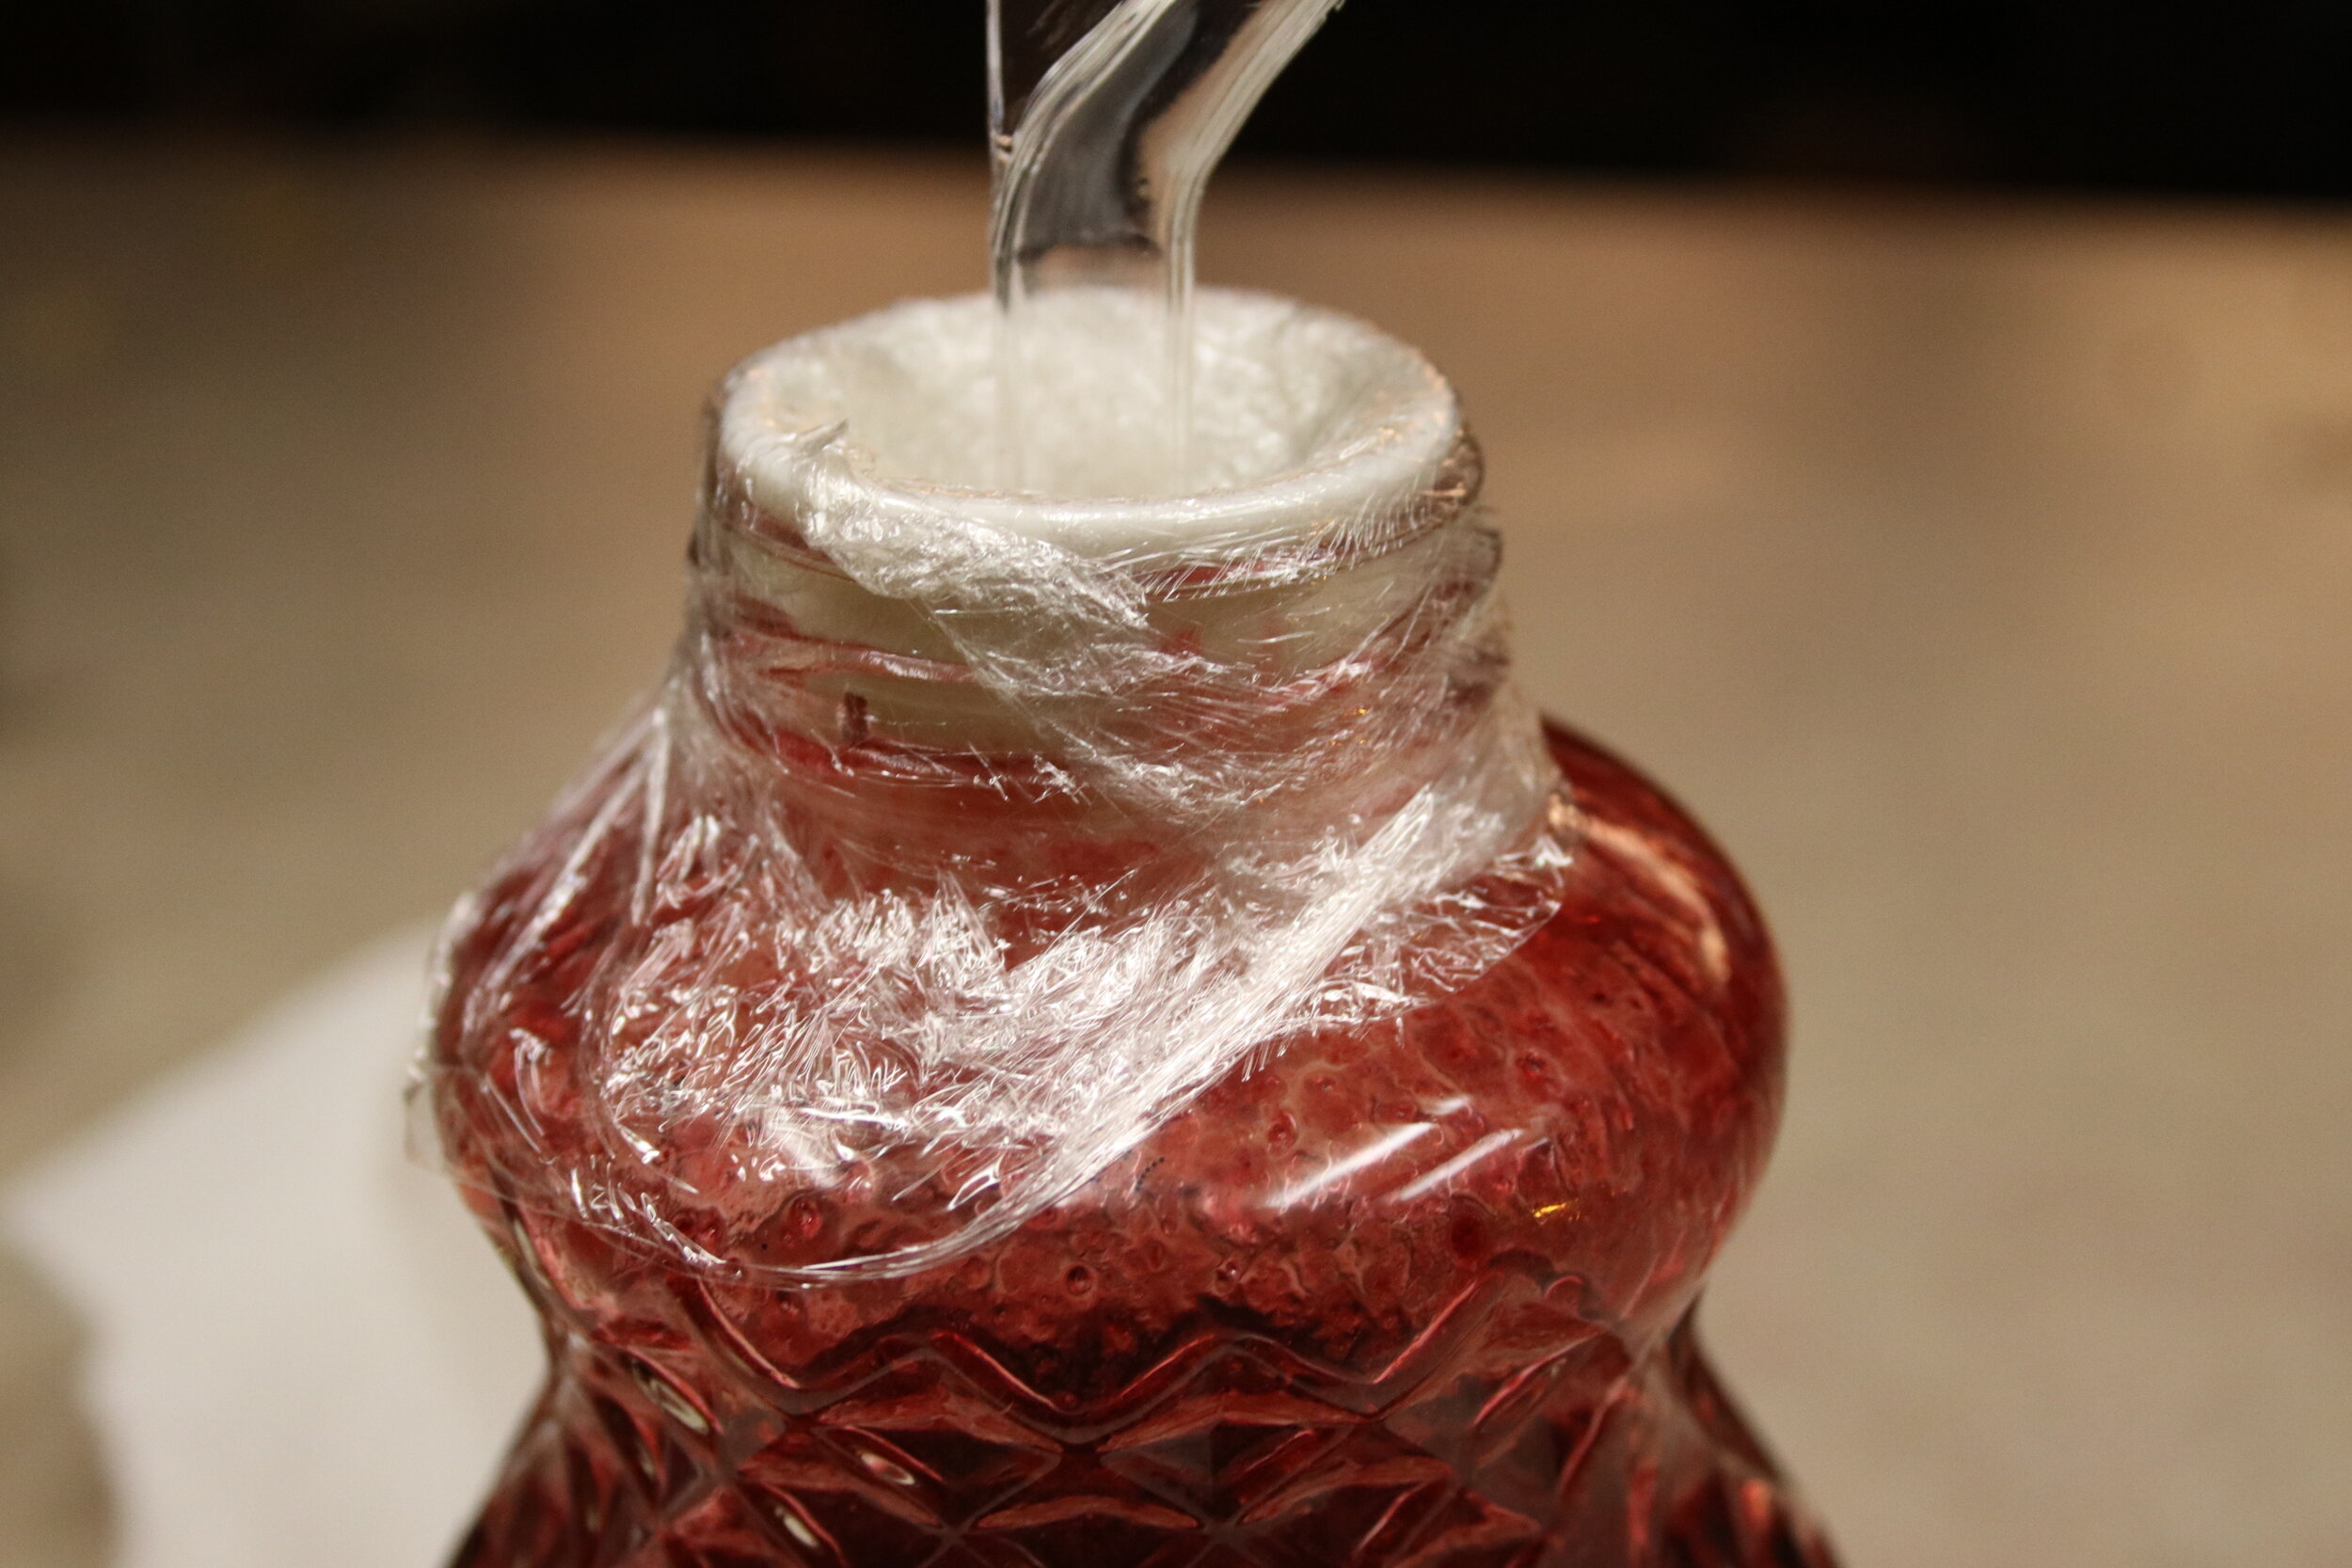
Clean the lip of the jar with a wet cloth, and fill up the airlock with water, to the max line. Since my stopper did not quite fit in my jar lid to seal, I added some plastic wrap to create a good seal. During this process you do not want any oxygen getting into this ferment. Oxygen is not a friend of making alcohol, so use the airlock, that is really important.
Leave the mix on the counter with the airlock for one week or until the gas stops escaping (you don’t see any more bubbles in the airlock). Then you are ready to make vinegar!
Step 3: Turning Wine into Vinegar

Once the juice has been turned into alcohol, it is time to make vinegar. For the best results you will need to add a chunk of “Mother” from another vinegar, or add some raw apple cider vinegar with the mother, to the alcohol. Loosely cover the alcohol and mother, so oxygen can get to it, and let it sit in a dark cupboard for about 3-4 months. Once a mother about 1/2 inch thick has formed, then the vinegar is ready to eat!
Bottle the vinegar and enjoy! Consume within 2 years.